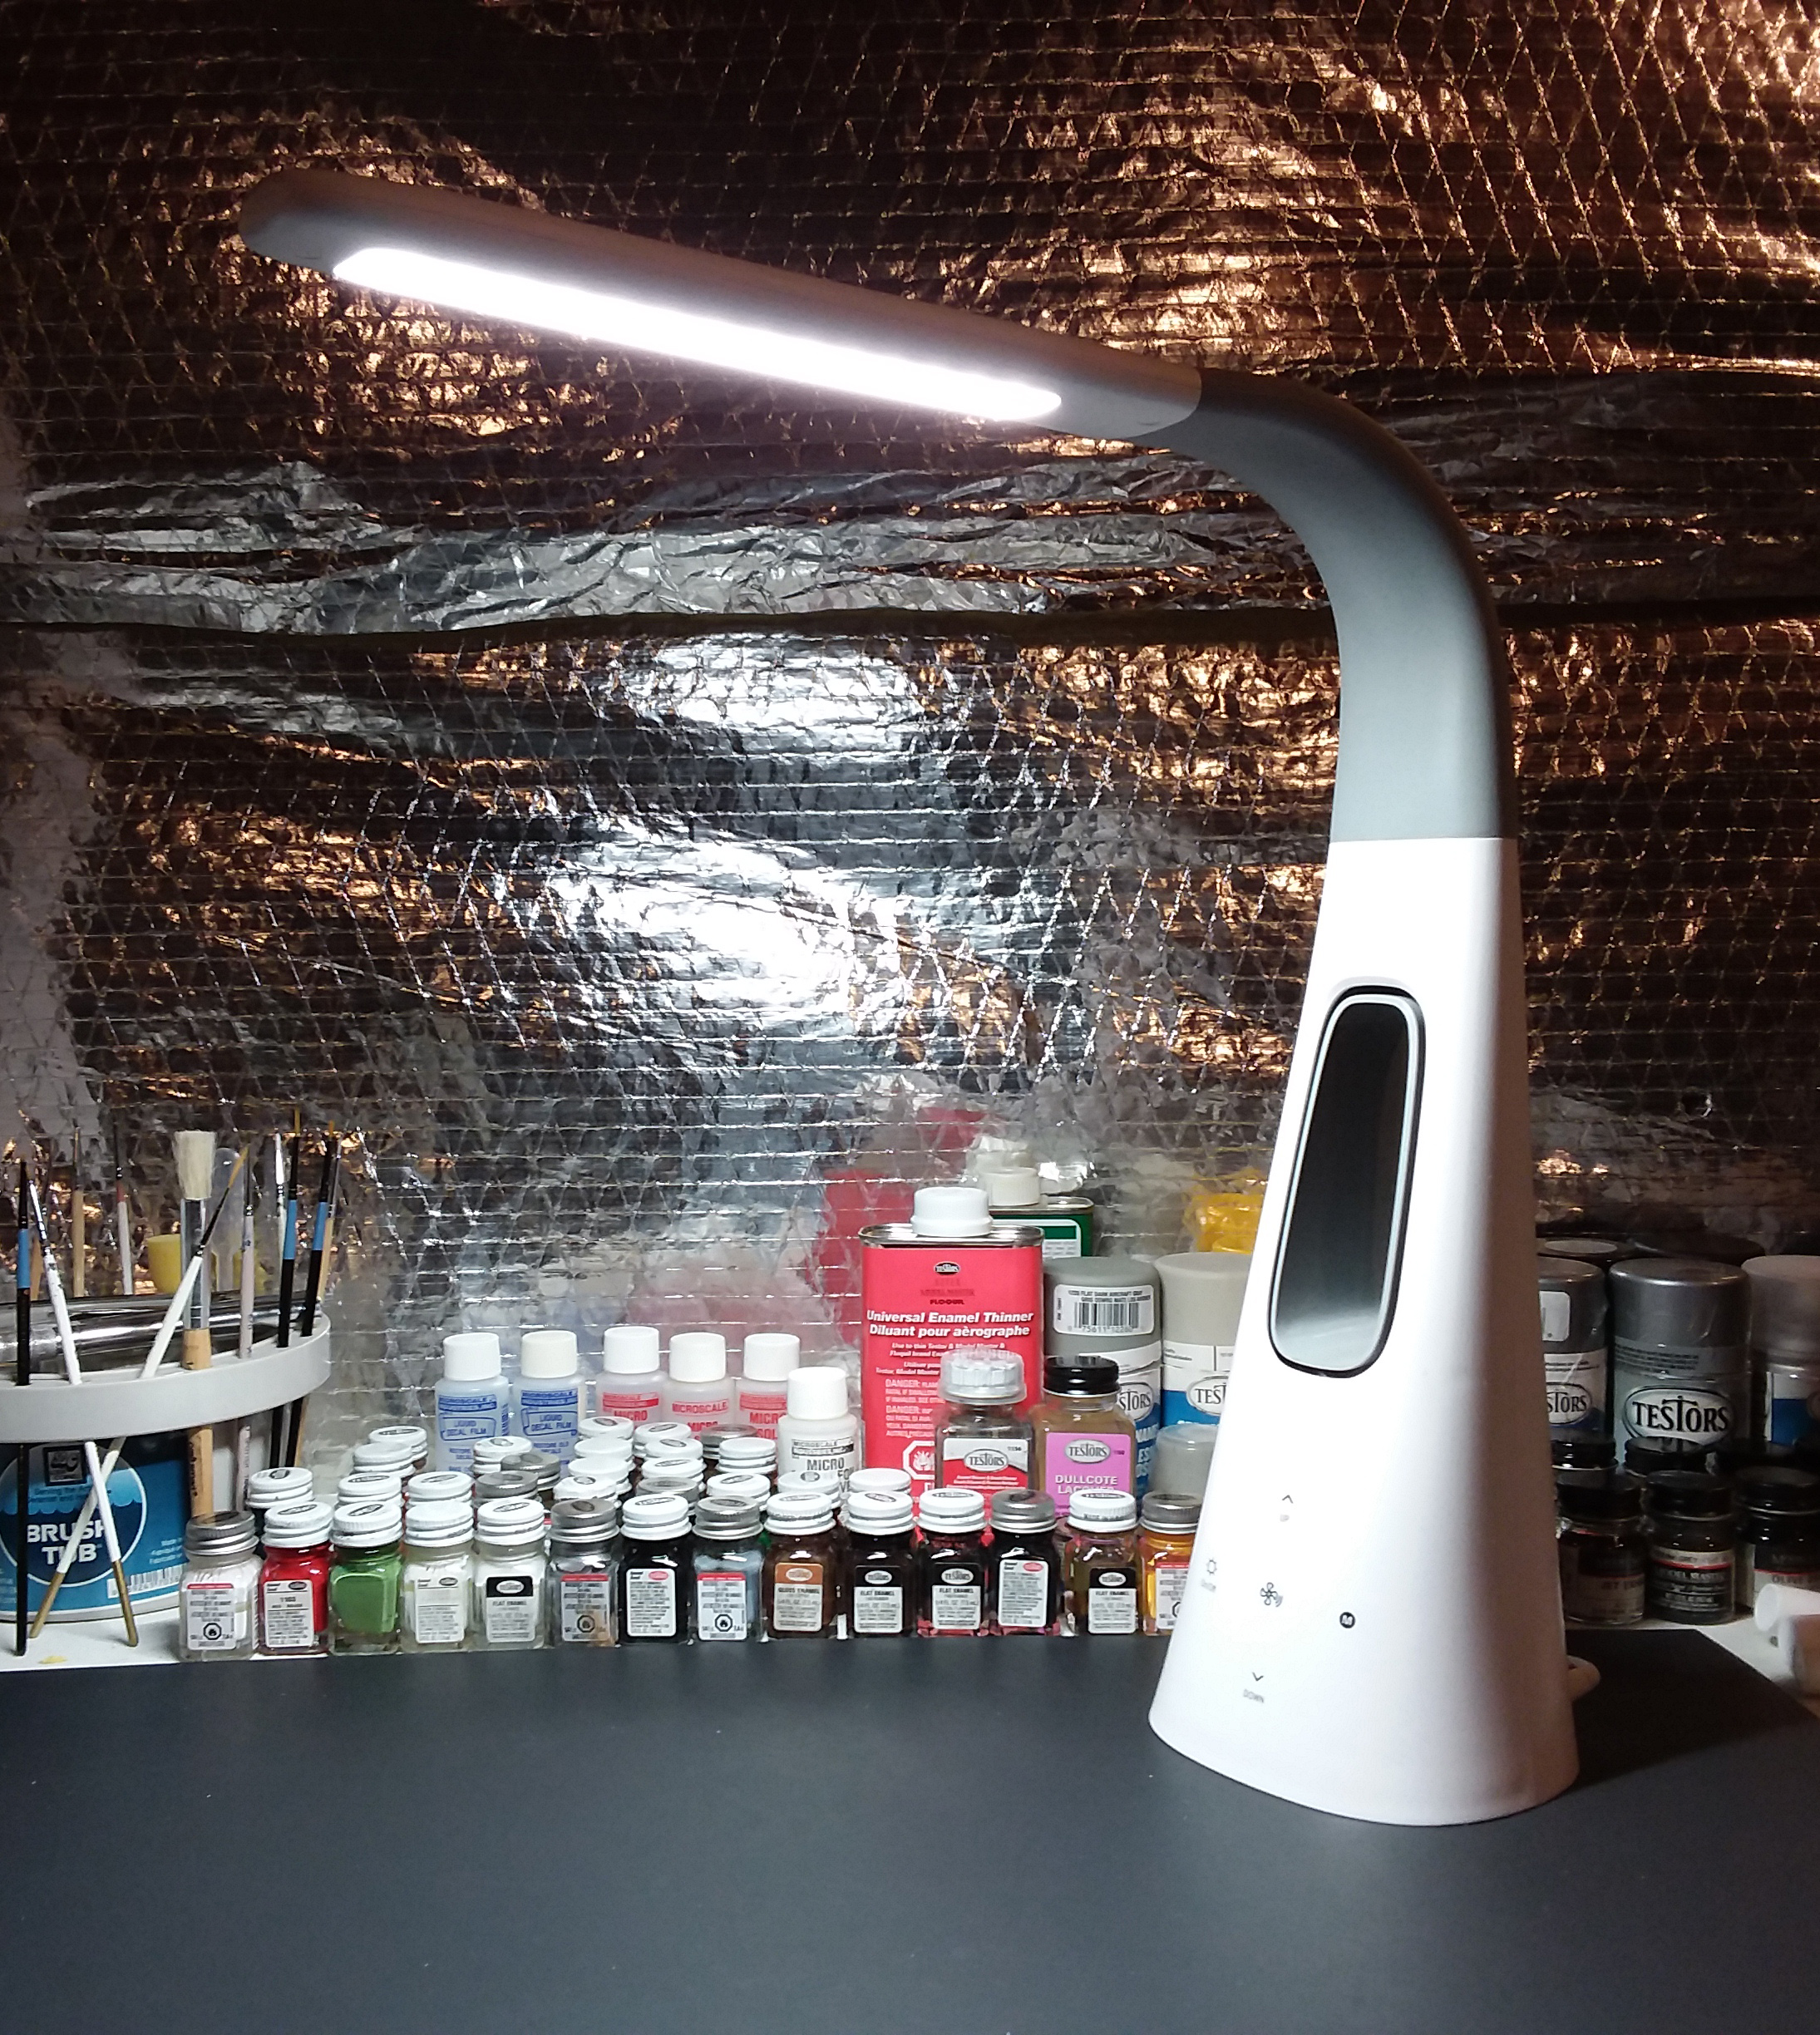
Tools
You will need different tools to build your models: measuring tools, edged tools, clamping tools, brushes and airbrushes, paint, glue, power tools, etc.
Below, you will find a description of each of these tools.
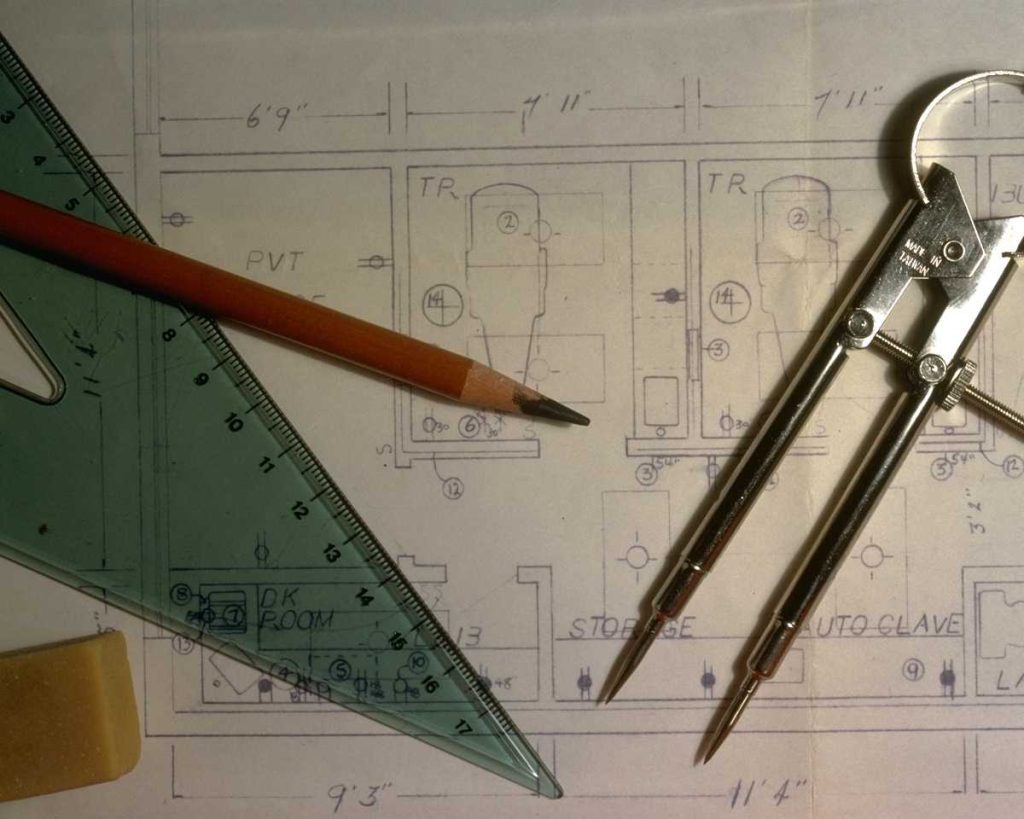
Measuring Tools
You will need a selection of plastic or steel rulers. You will use them not only for measuring but also for tracing and adding details to your model.
Remember, if you are a serious modeler planning to modify some plastic kits, you will need a ruler to measure reference plans and calculate scales from photographs.
Edged Tools
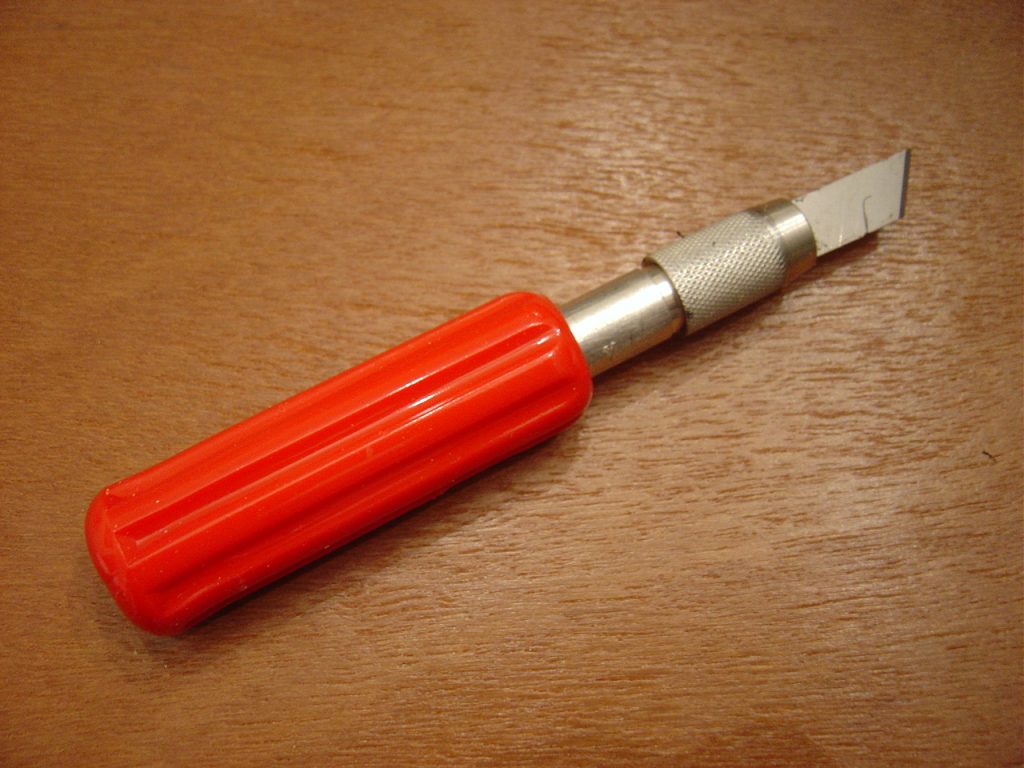
The “X-Acto knife,” or “Hobby Knife, “is one of the essential tools. Having a good set of different blades and handles is a good idea. Always wear protective safety glasses when using edged tools.
When cutting the plastic pieces from the spruces, do not press down with the blade all the way down at once. Perform a progressive cut to avoid breaking the plastic in an undesired location. Most small pieces are very fragile. Take special care when cutting clear plastic like the one used on cockpits, windows, and lights. This type of plastic is even more delicate.
Another type of edged tool is the “U” shape razor saw. If you are planning to make heavy modifications to your plastic kit, make sure to consider a razor saw.
CAUTION: Do not let small children operate this tool without adult supervision.
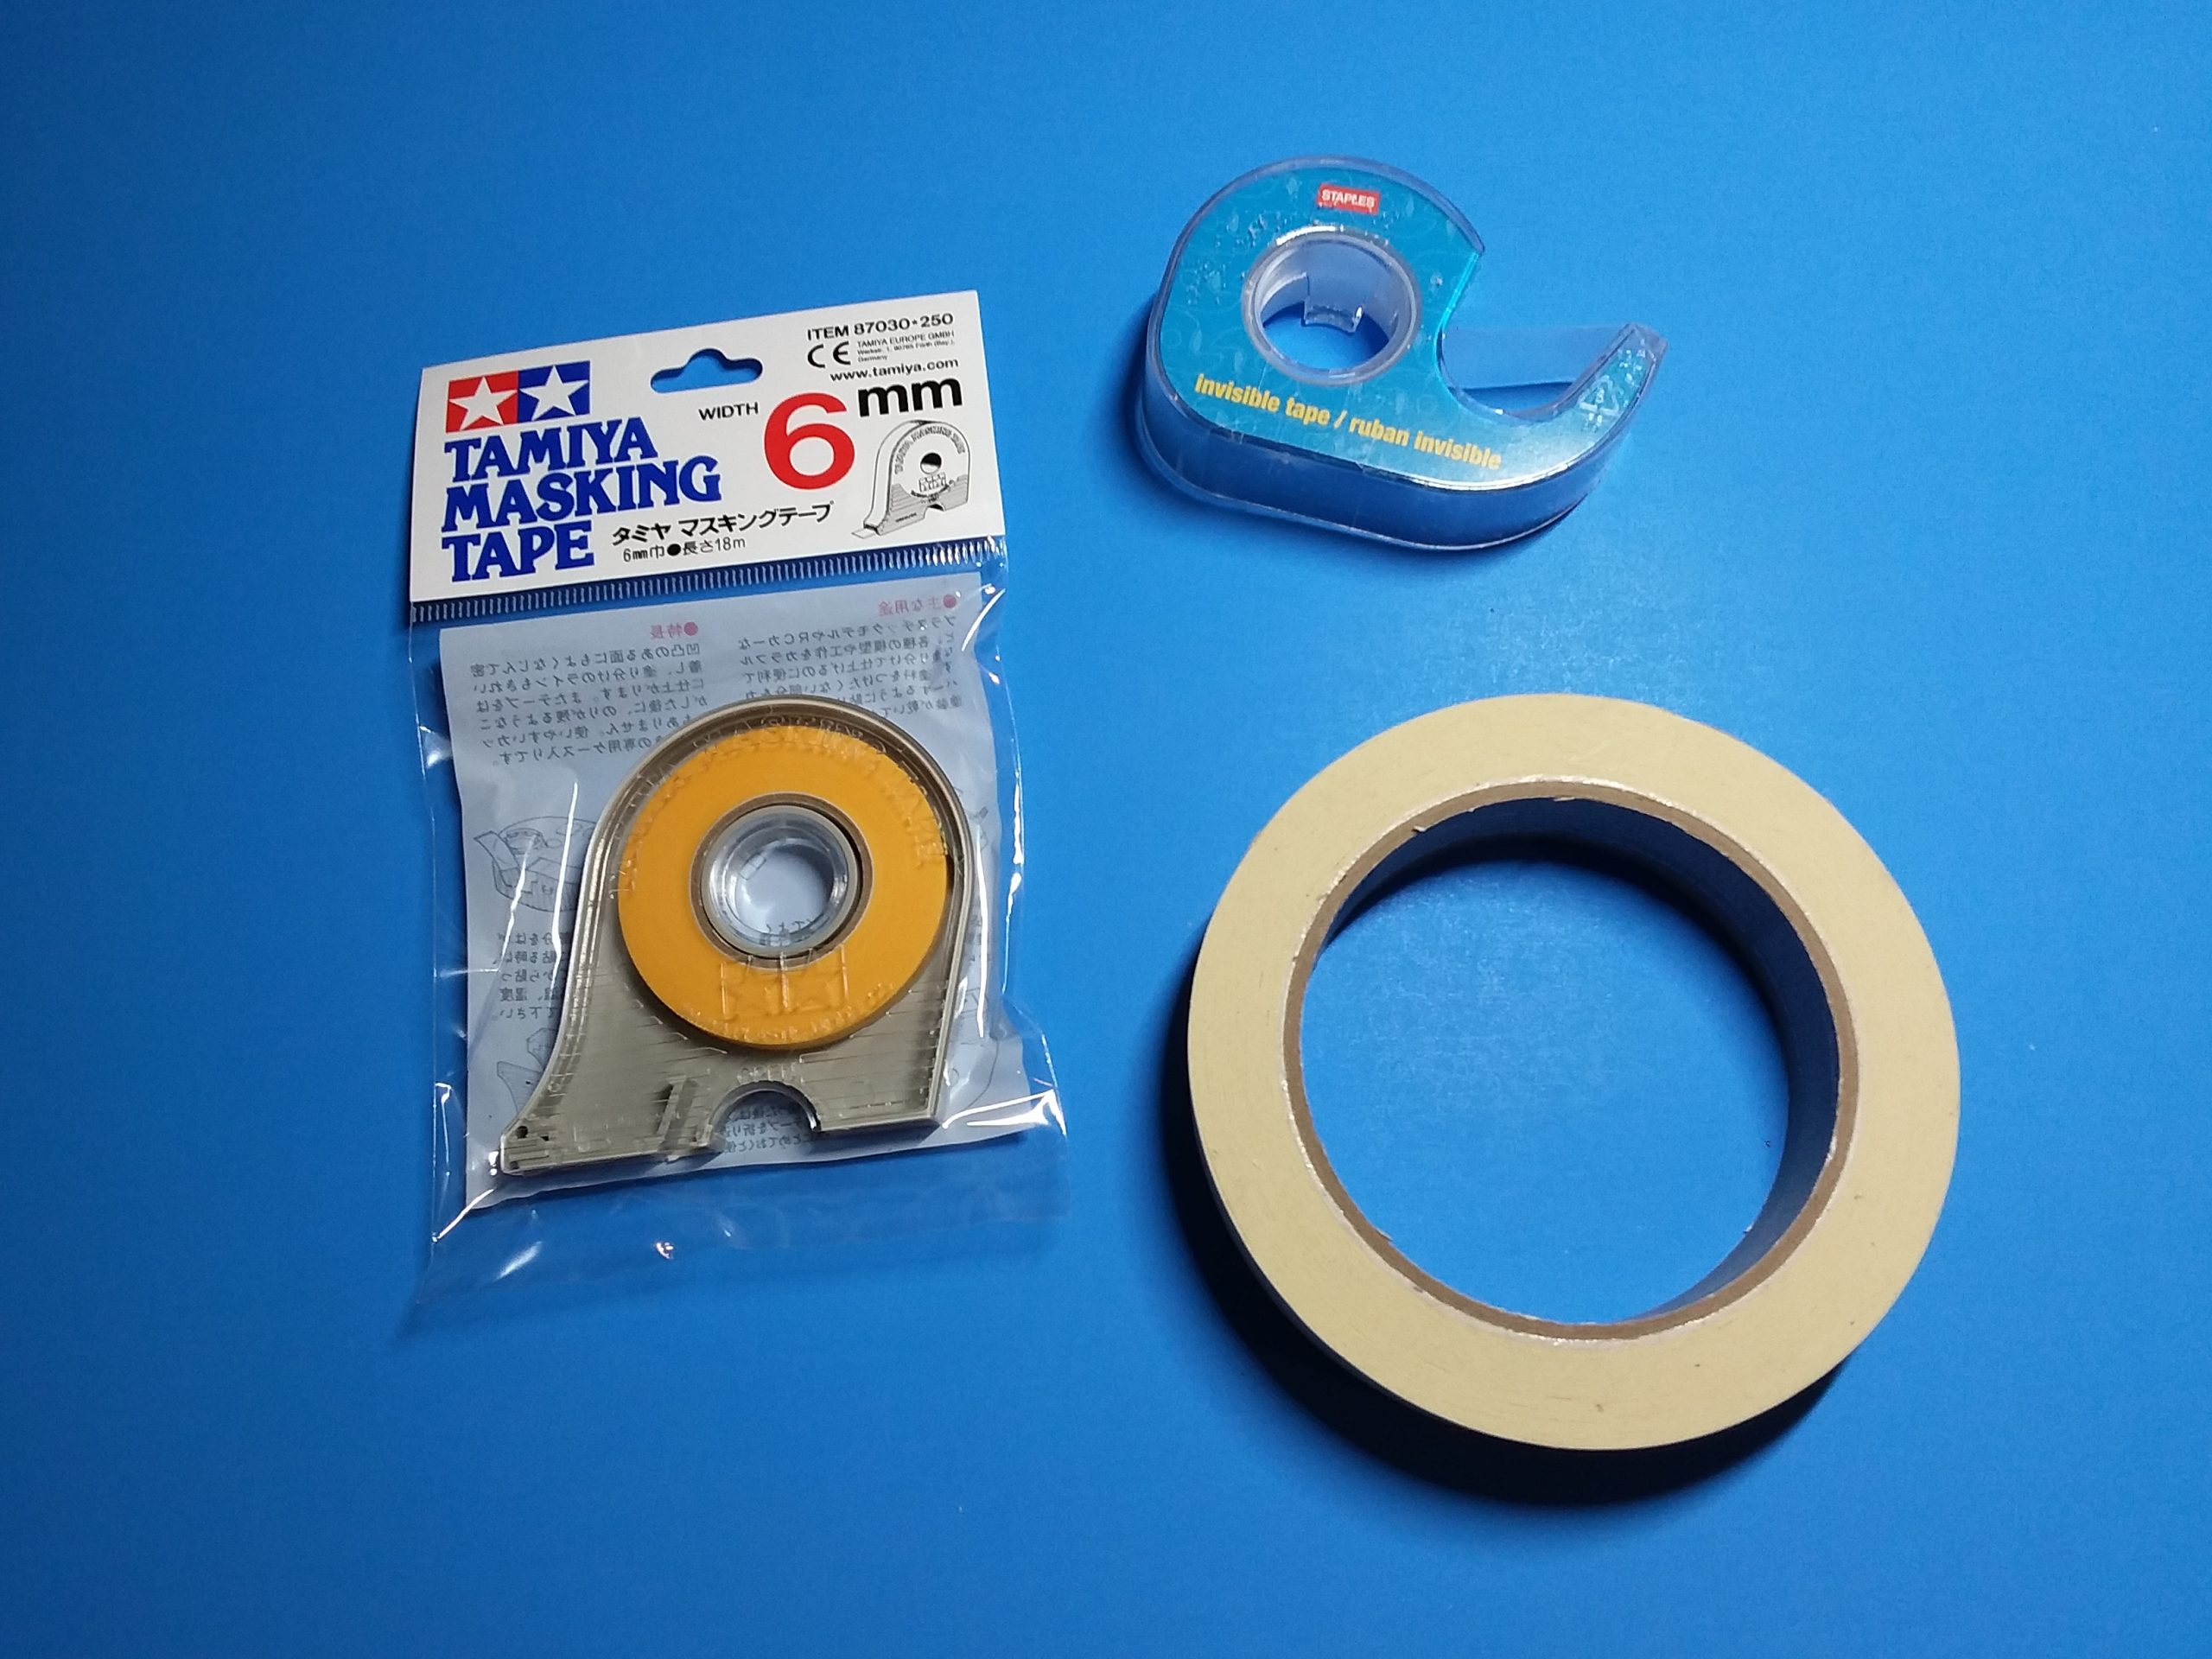
Clamping Tools
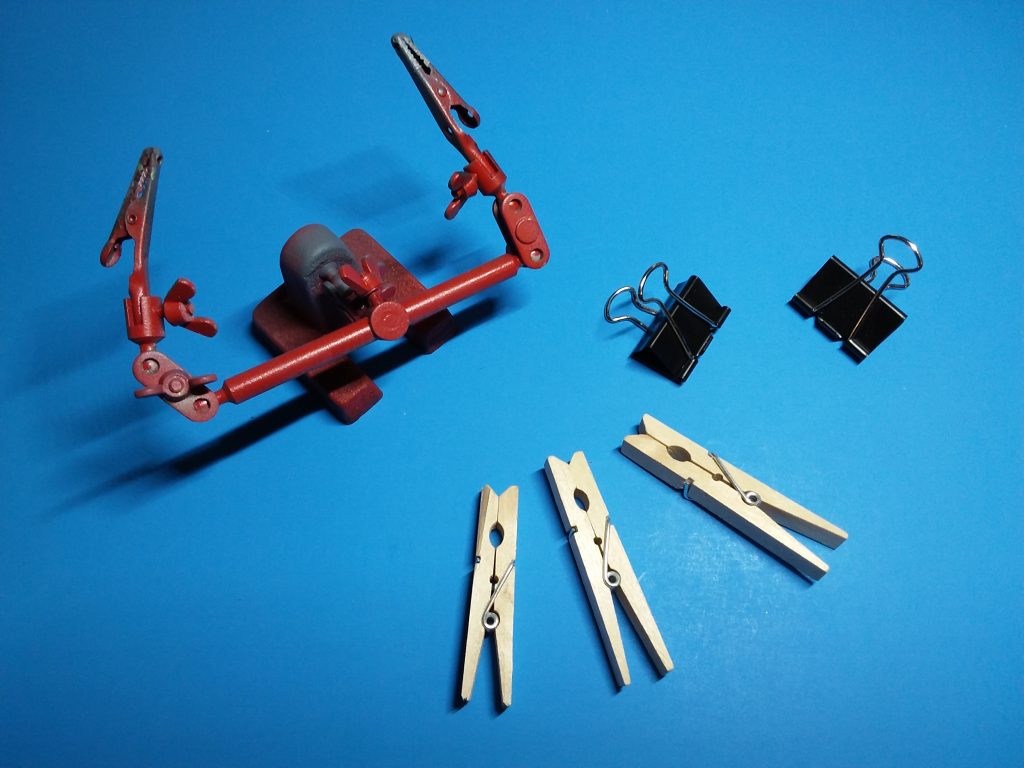
Standard or cross-action tweezers are indispensable. These tools are ideal for handling small pieces or holding parts for painting or gluing.
Standard clamps are also handy for holding components together for gluing, especially for more significant parts like wing halves, when parts need to stay together temporarily for extended periods.
Rubber bands, wood clothespins, and even paper clips can clamp. Masking and invisible tape can also hold parts together, but they are primarily used for masking areas of the model for painting. Invisible tape is helpful for masking canopies.
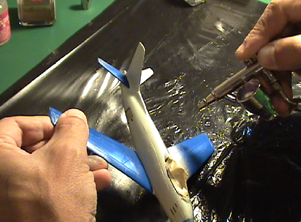
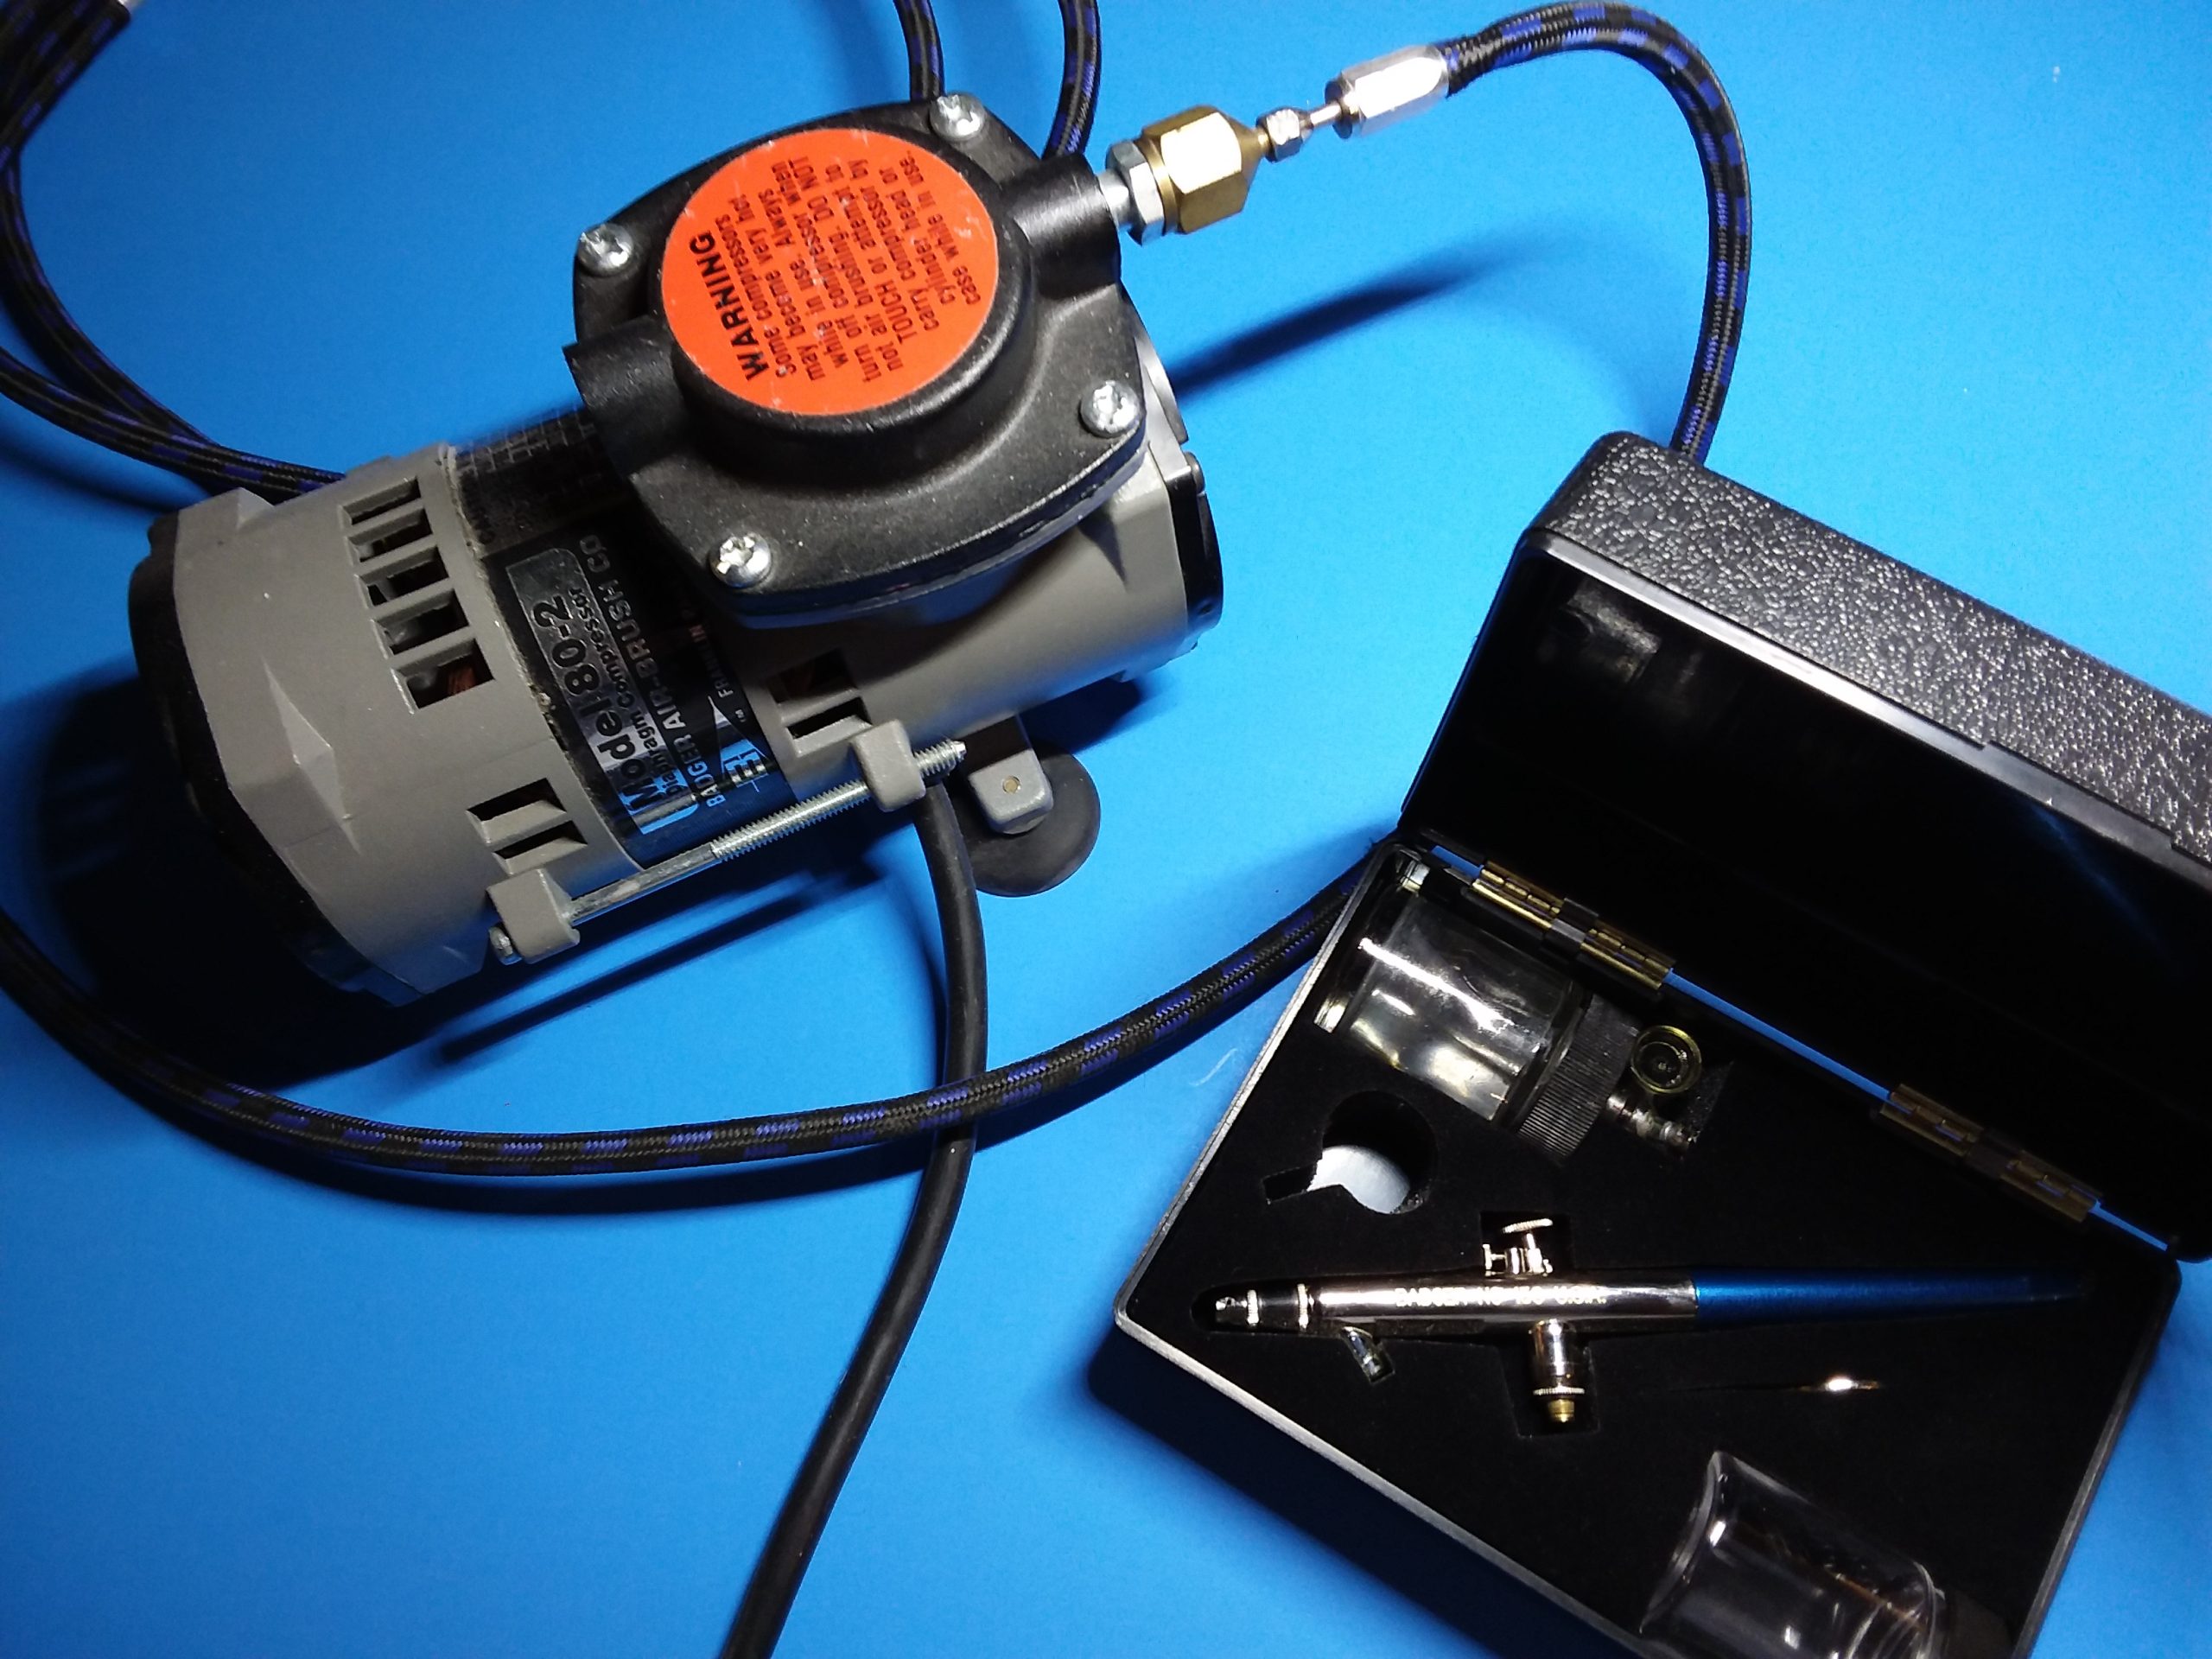
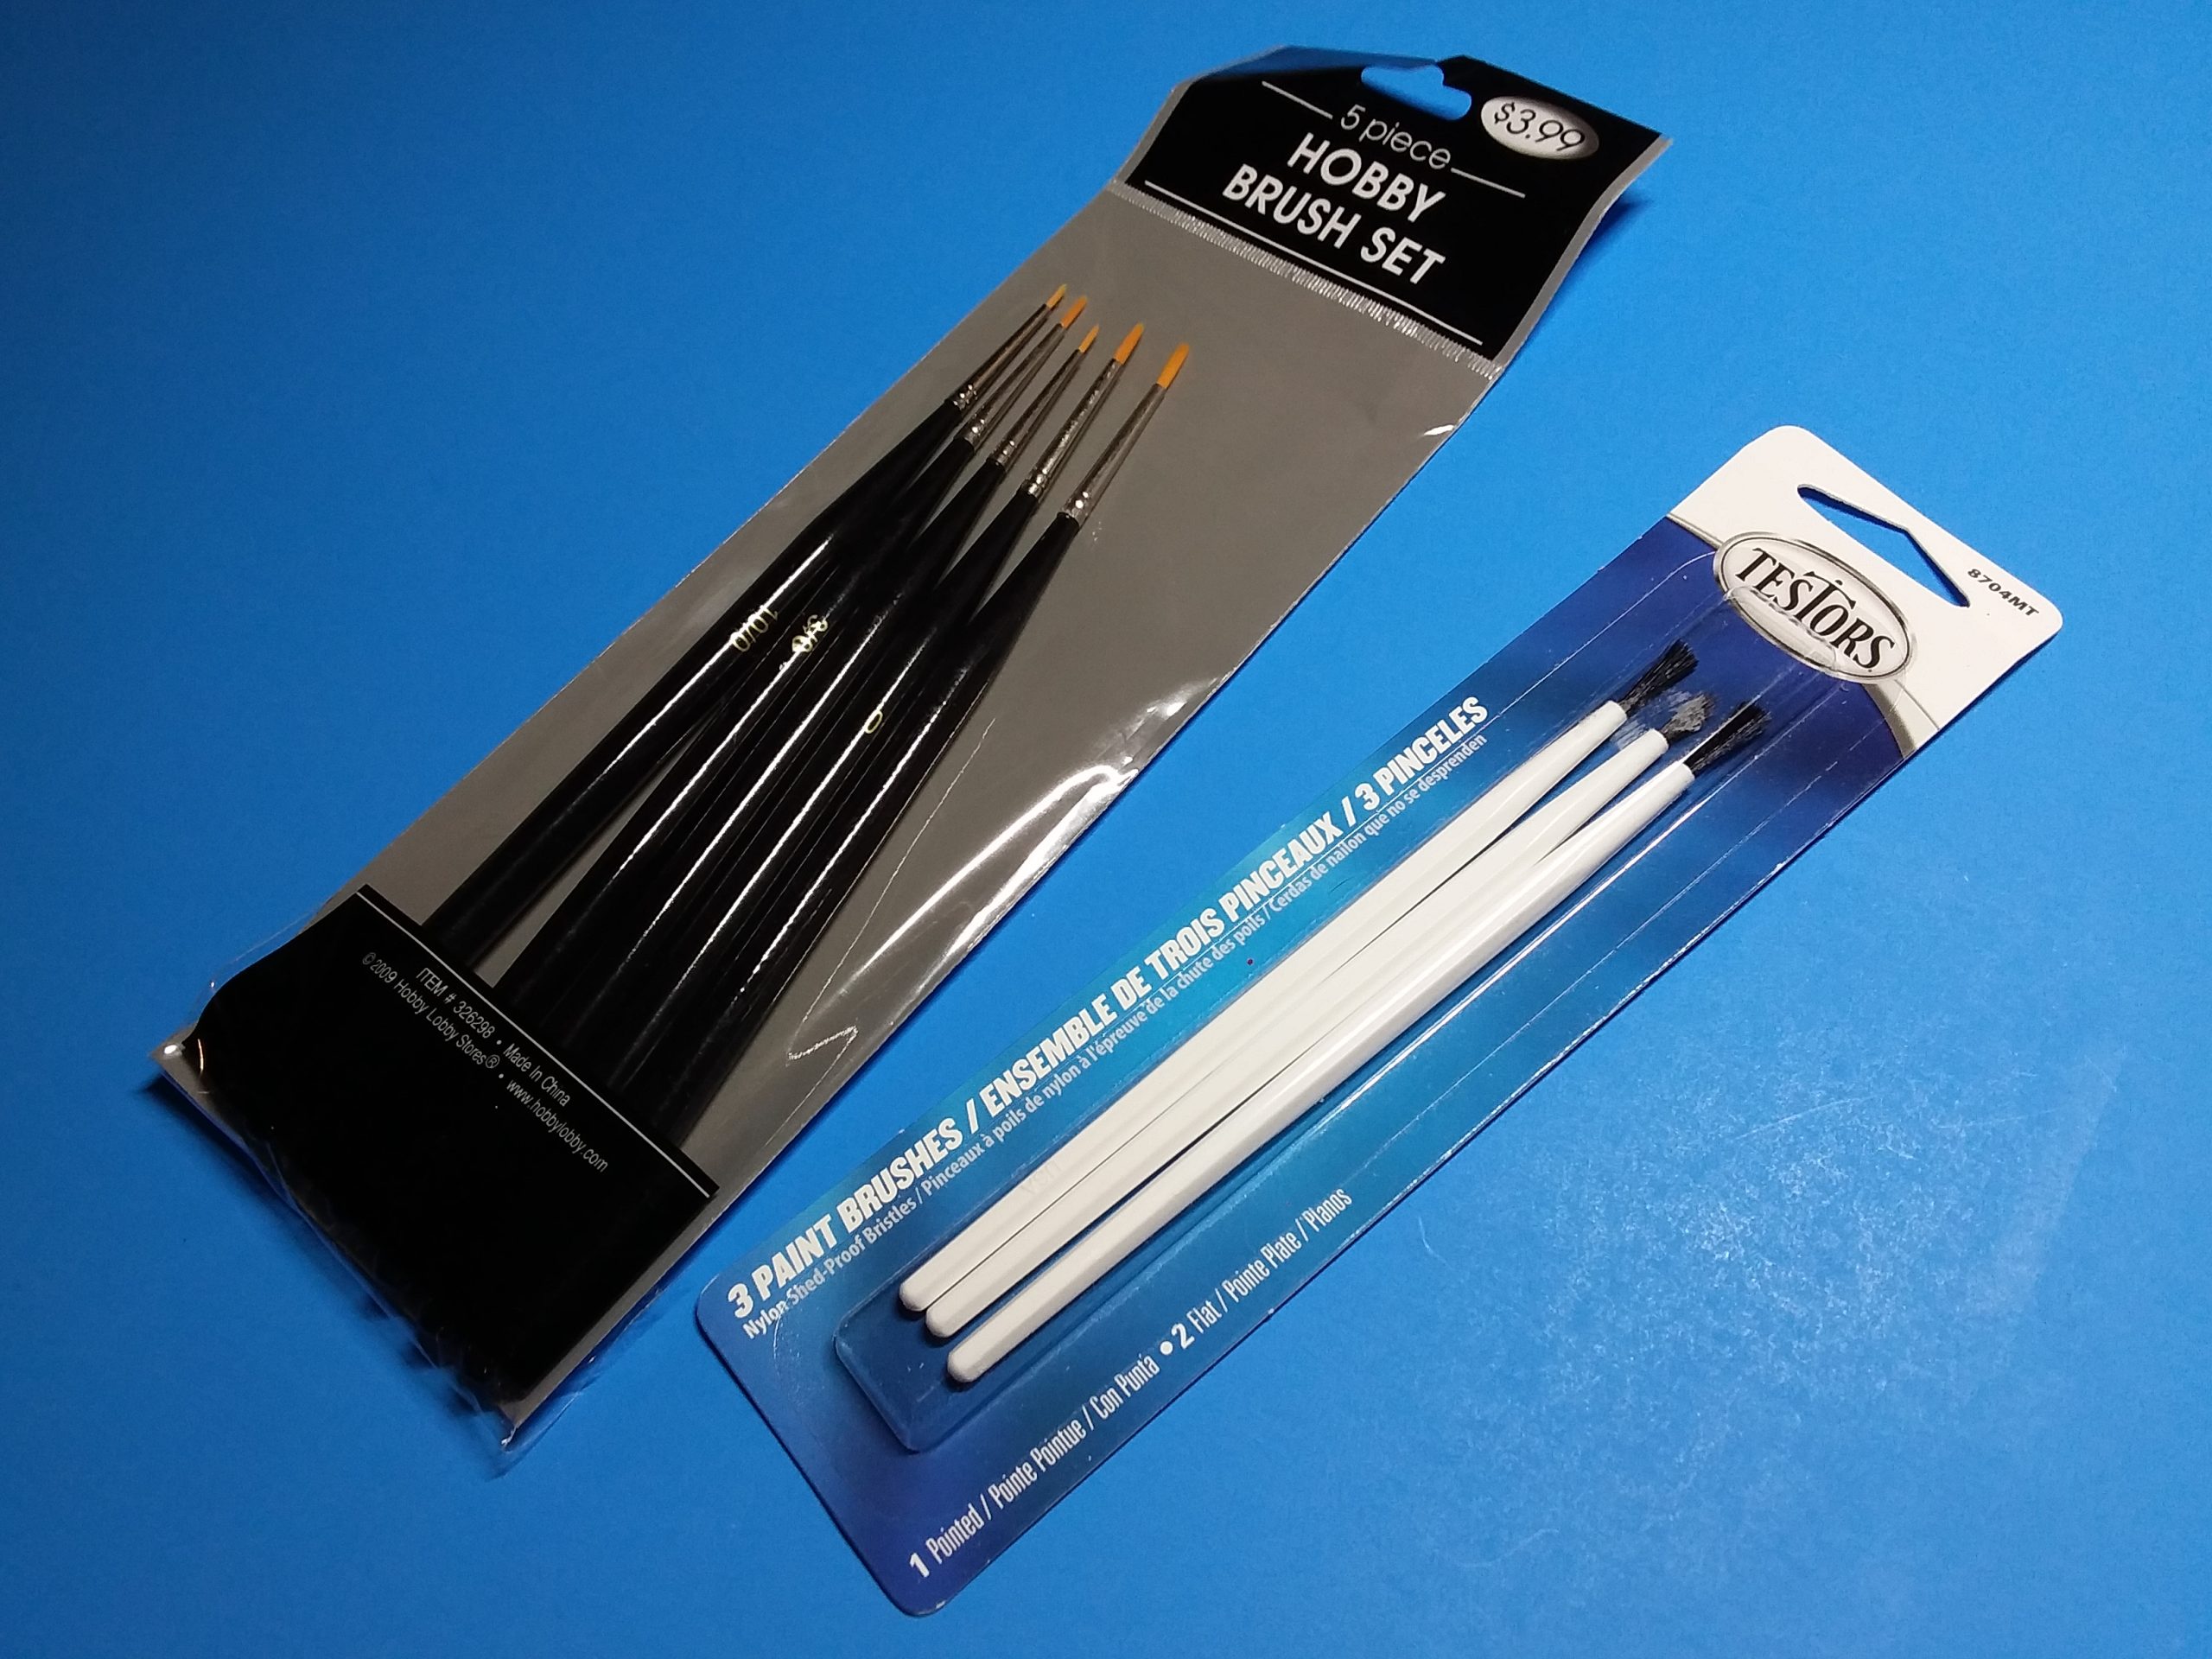
Airbrushes
The airbrush is a miniature spray gun that blends air with paint, depositing the resulting mixture smoothly over a surface. An air compressor generally supplies the required air. An airbrush is a precision tool, and it is preferred over spray paint cans. The video tutorials on this website will teach you how to use an airbrush.
The most common and most straightforward airbrush is the external mix single action (a color bottle or cup is plugged into the back of the fluid tip)
It is essential to remember to clean the airbrush thoroughly after each use.
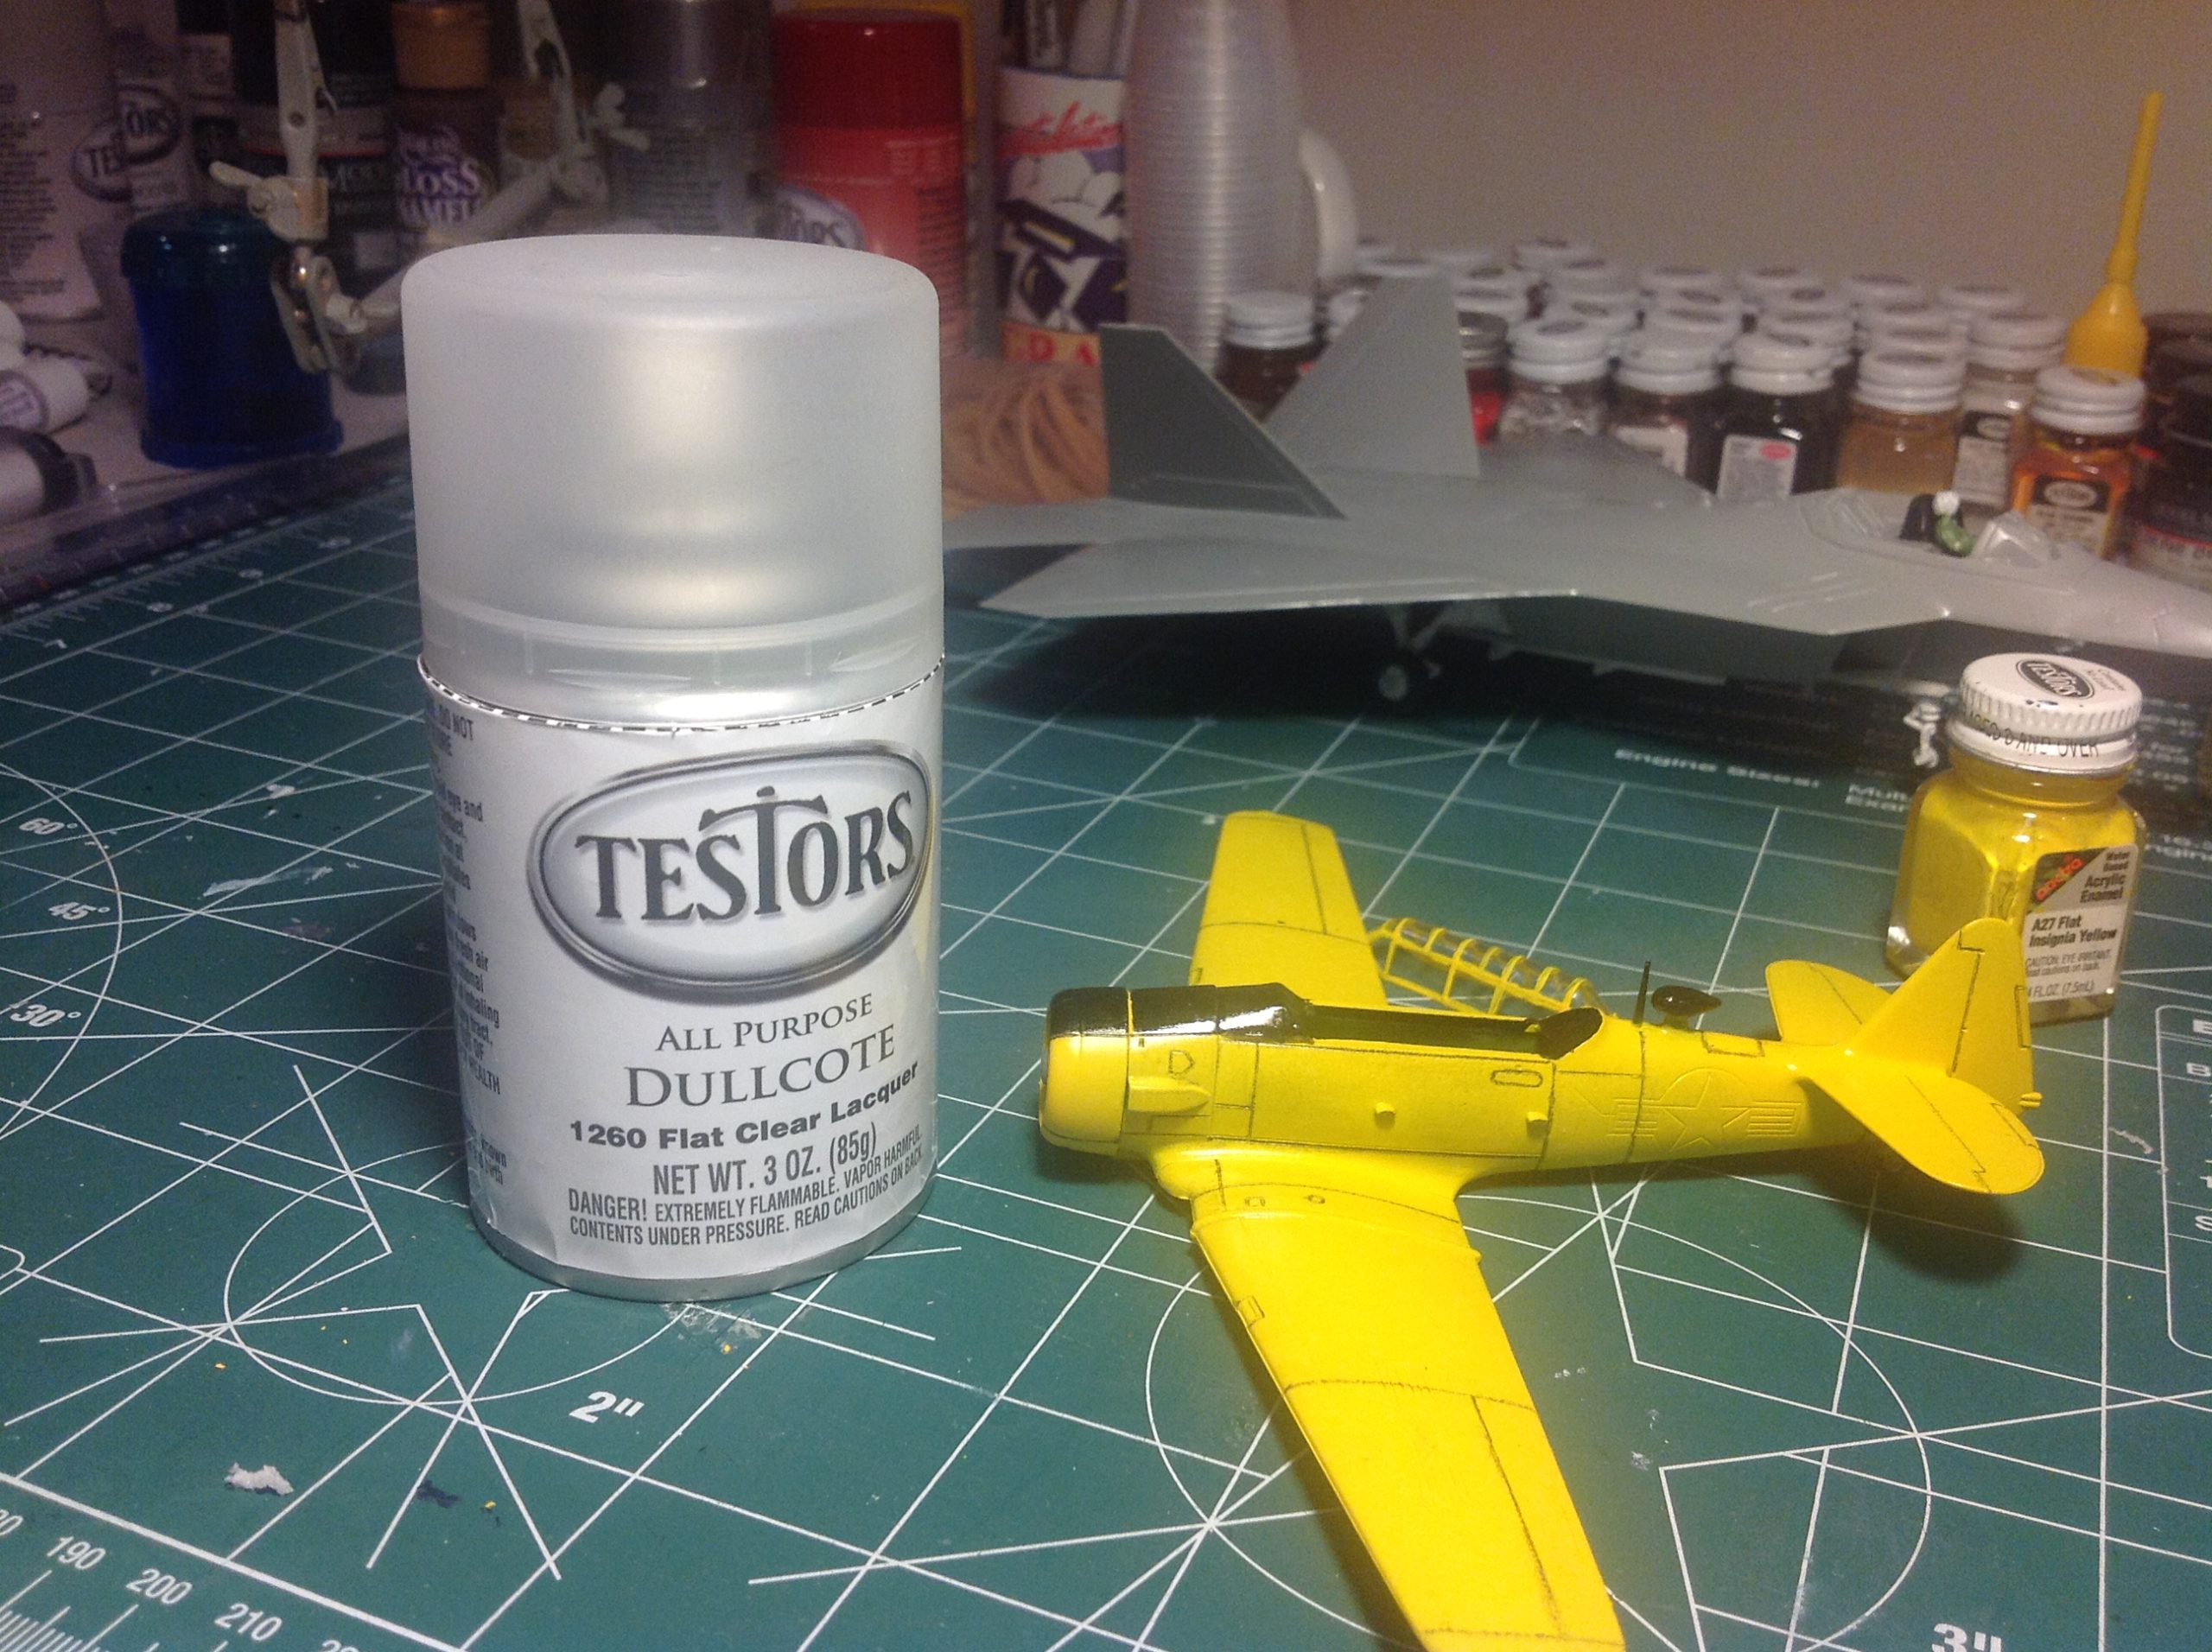
Paint
Types of paint:
Enamel: This is the most common type of paint for modelers. Manufacturers of this type of paint are Testors, Humbrol, and Pactra, among others.
Lacquer: This type of paint typically comes in spray cans.
Acrylic: These paints can not be mixed with enamel paints; they are water-thinkable (not water-soluble). They are also becoming very popular and are preferred by many modelers.
Remember that some paints are very volatile, especially those for metal finish. Work in a well-ventilated area and/or use a protective mask.
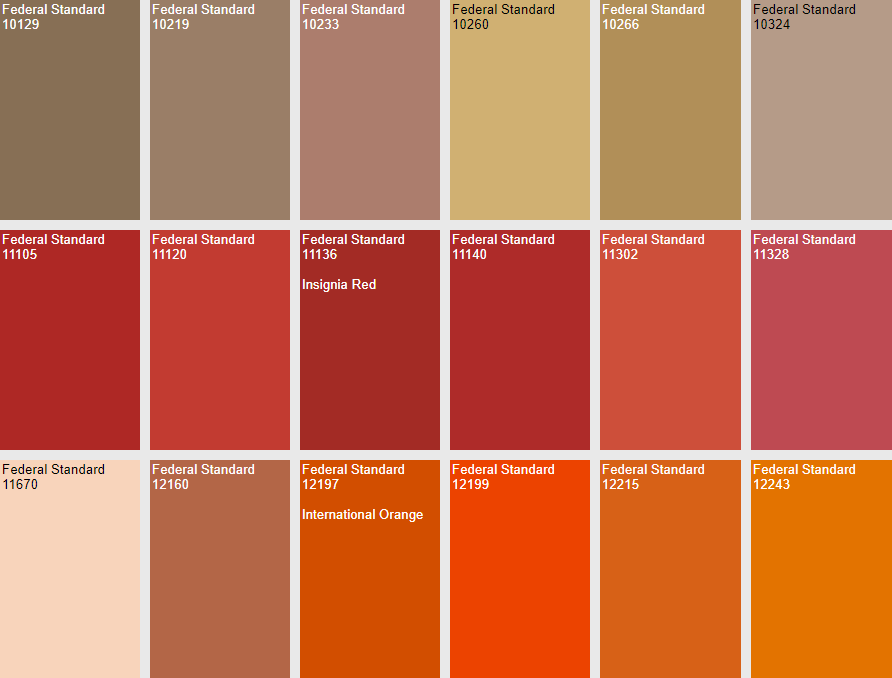
Accurate Colors
Many kit manufacturers reference FS (Federal Standard) numbers for the colors used by the airplanes. These FS numbers also identify many paints for scale modeling in today’s market.
Federal Standard Color Reference Chart (www.federalstandardcolor.com)
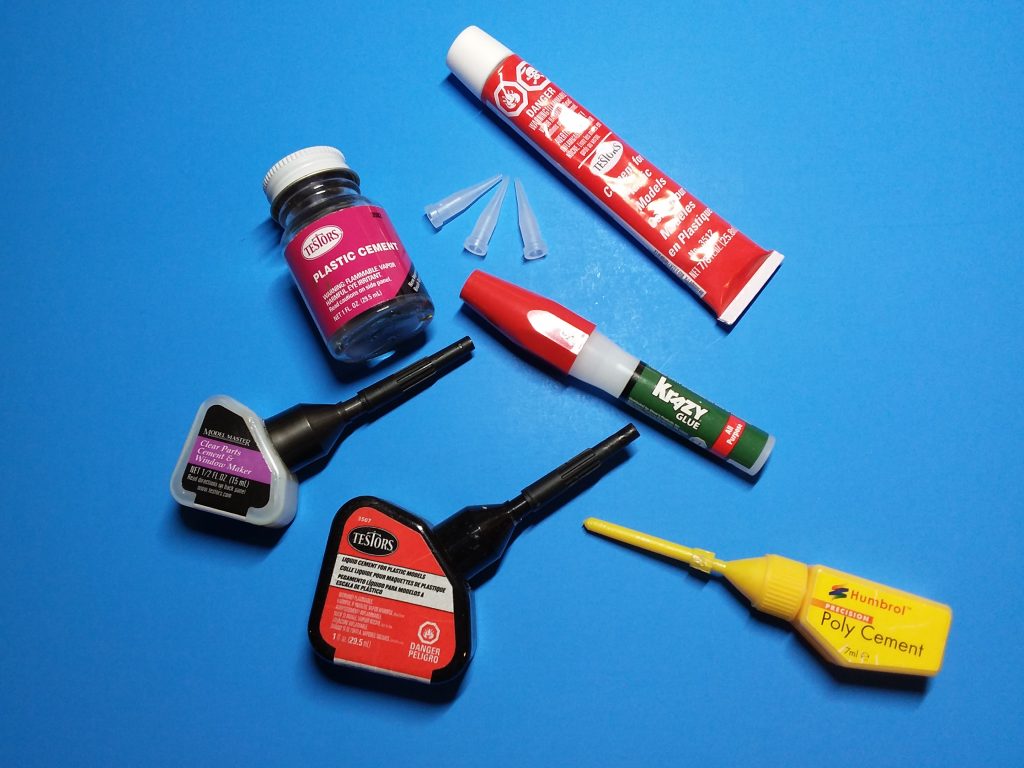
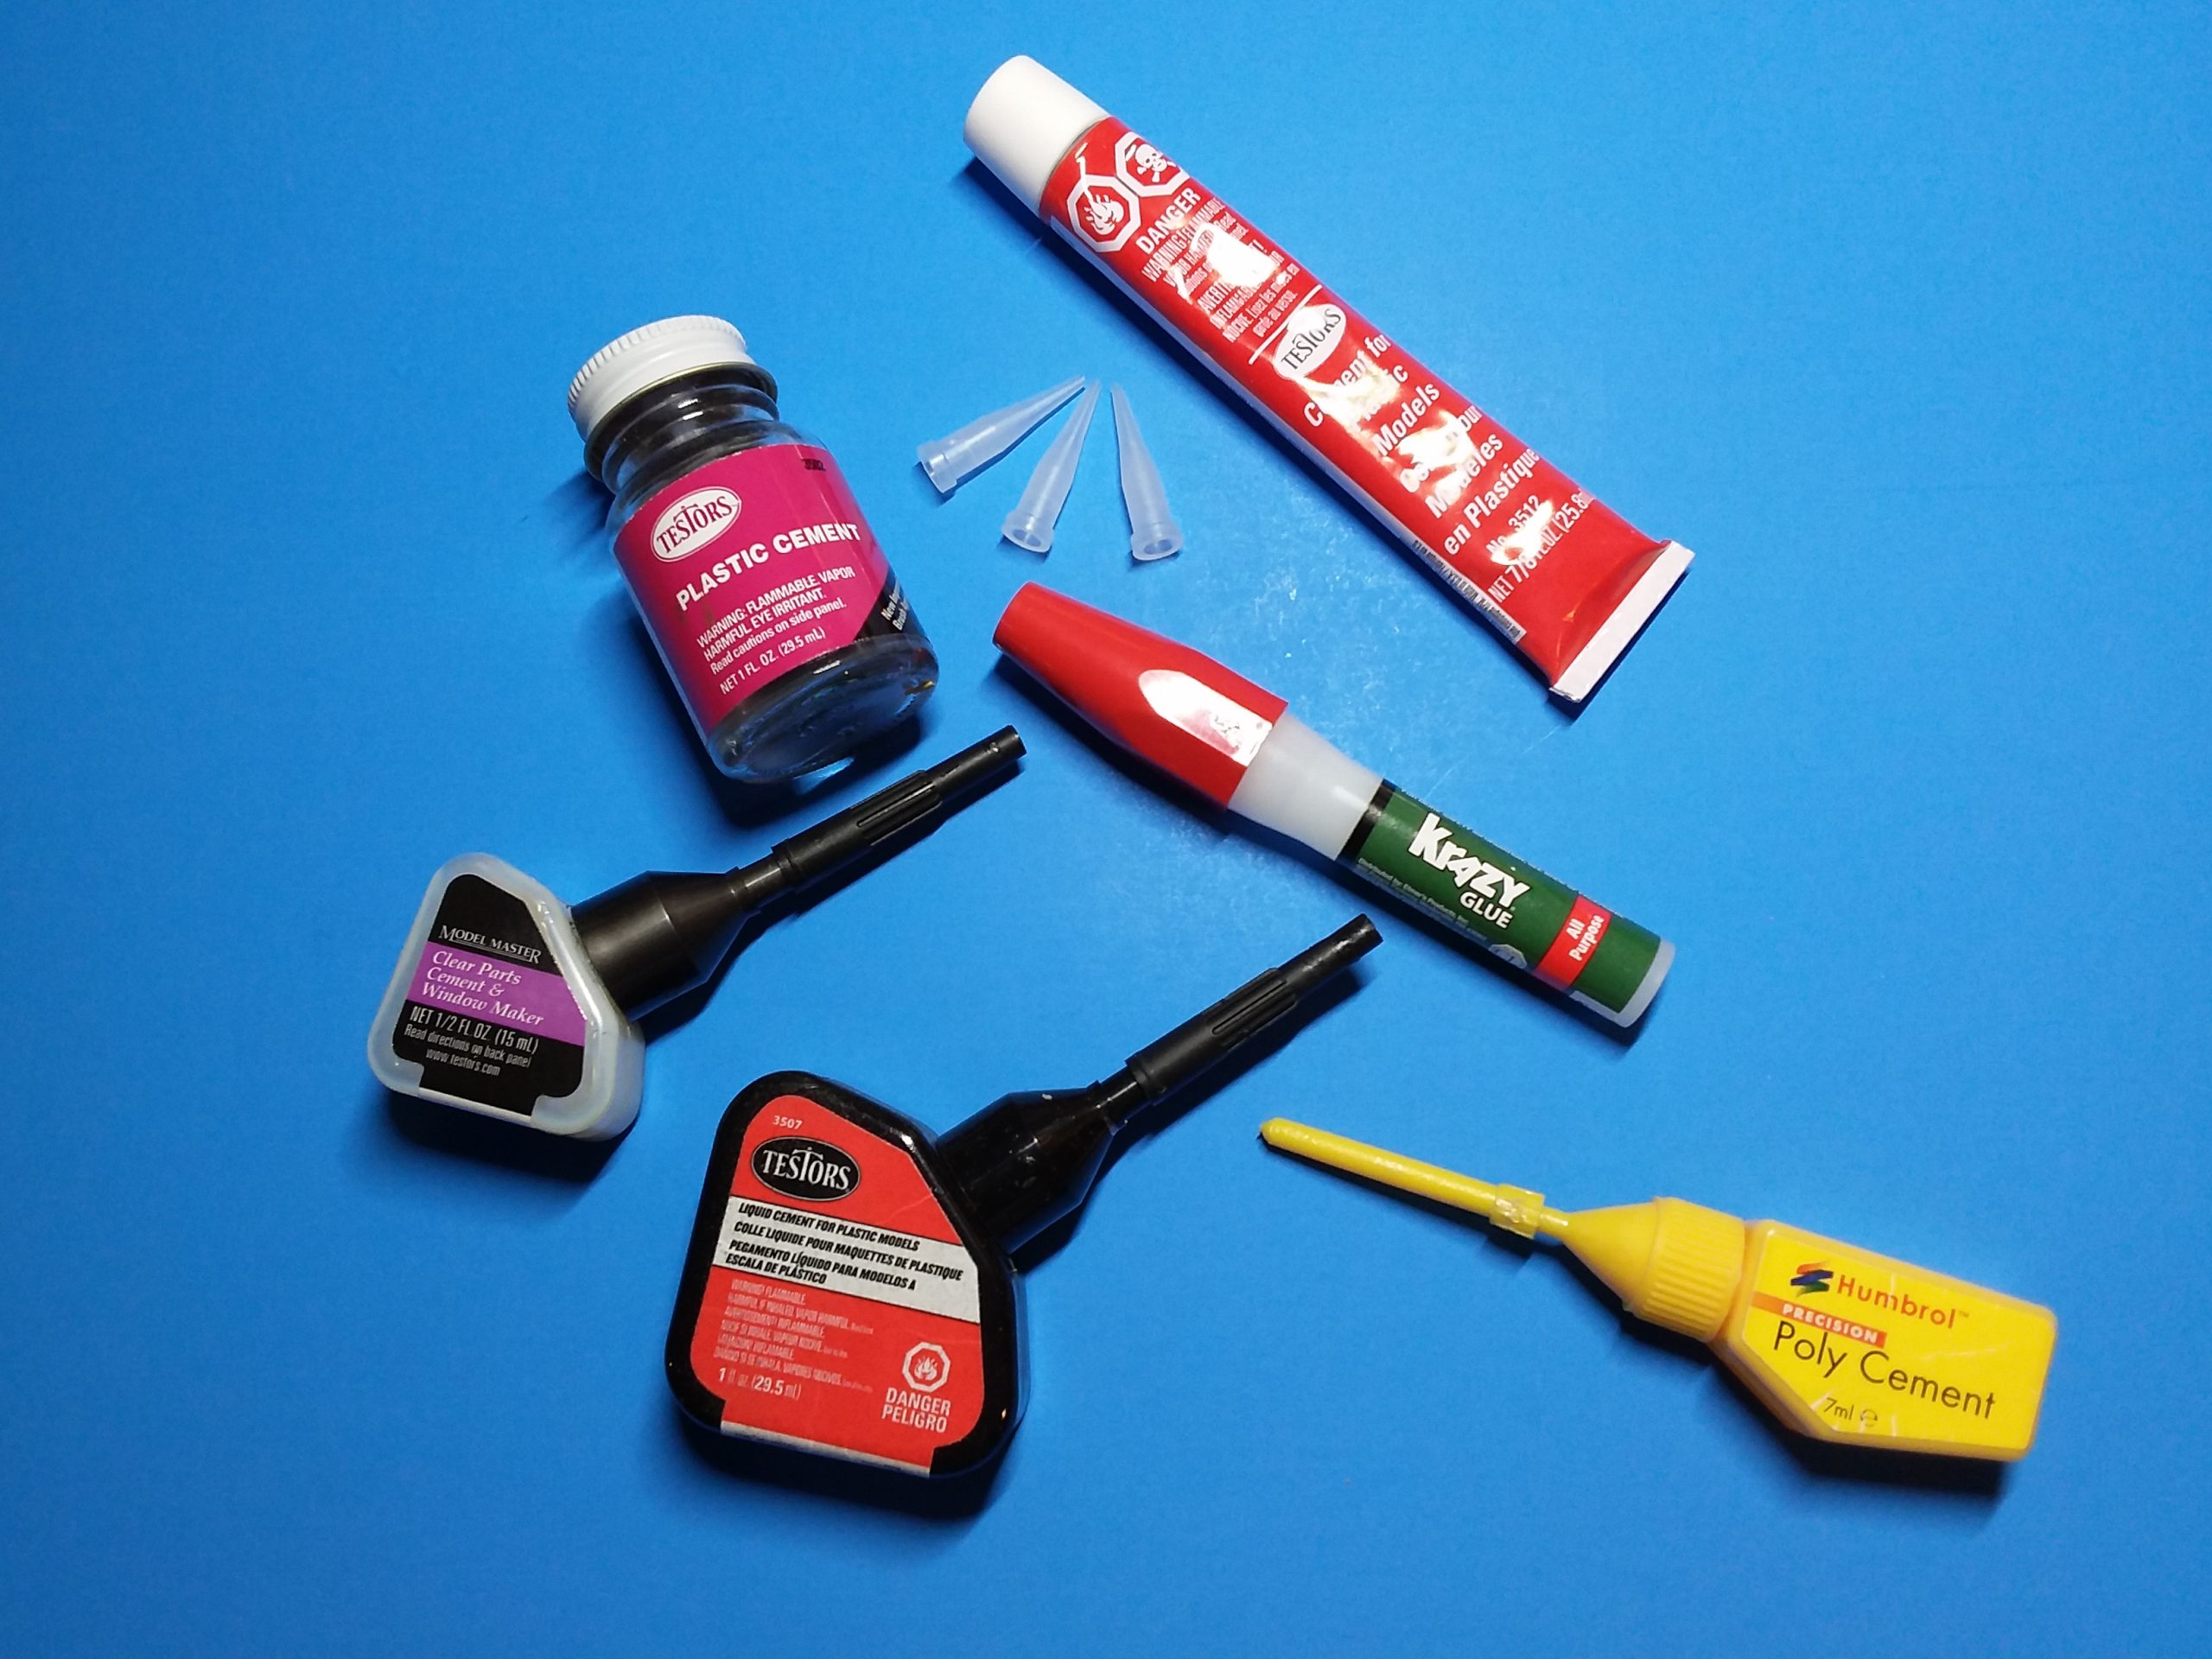
Glue
Also known as “Cement,” it is used to adhere to the plastic parts of a model kit. It comes in different types:
Tube cement: Thickened plastic packaged in a squeeze tube has a relatively quick drying time.
Liquid cement requires a brush to apply to the seam of two surfaces held together in contact. In most cases, this type of glue is more effective because when applied, it flows along the joint and dries rapidly. This type of cement dissolves the surface of the plastic parts held together, producing a solid bond.
The “Superglues”: They dry in 10 to 45 seconds. This type of glue is excellent for gluing antennas, landing gears, and other small parts.

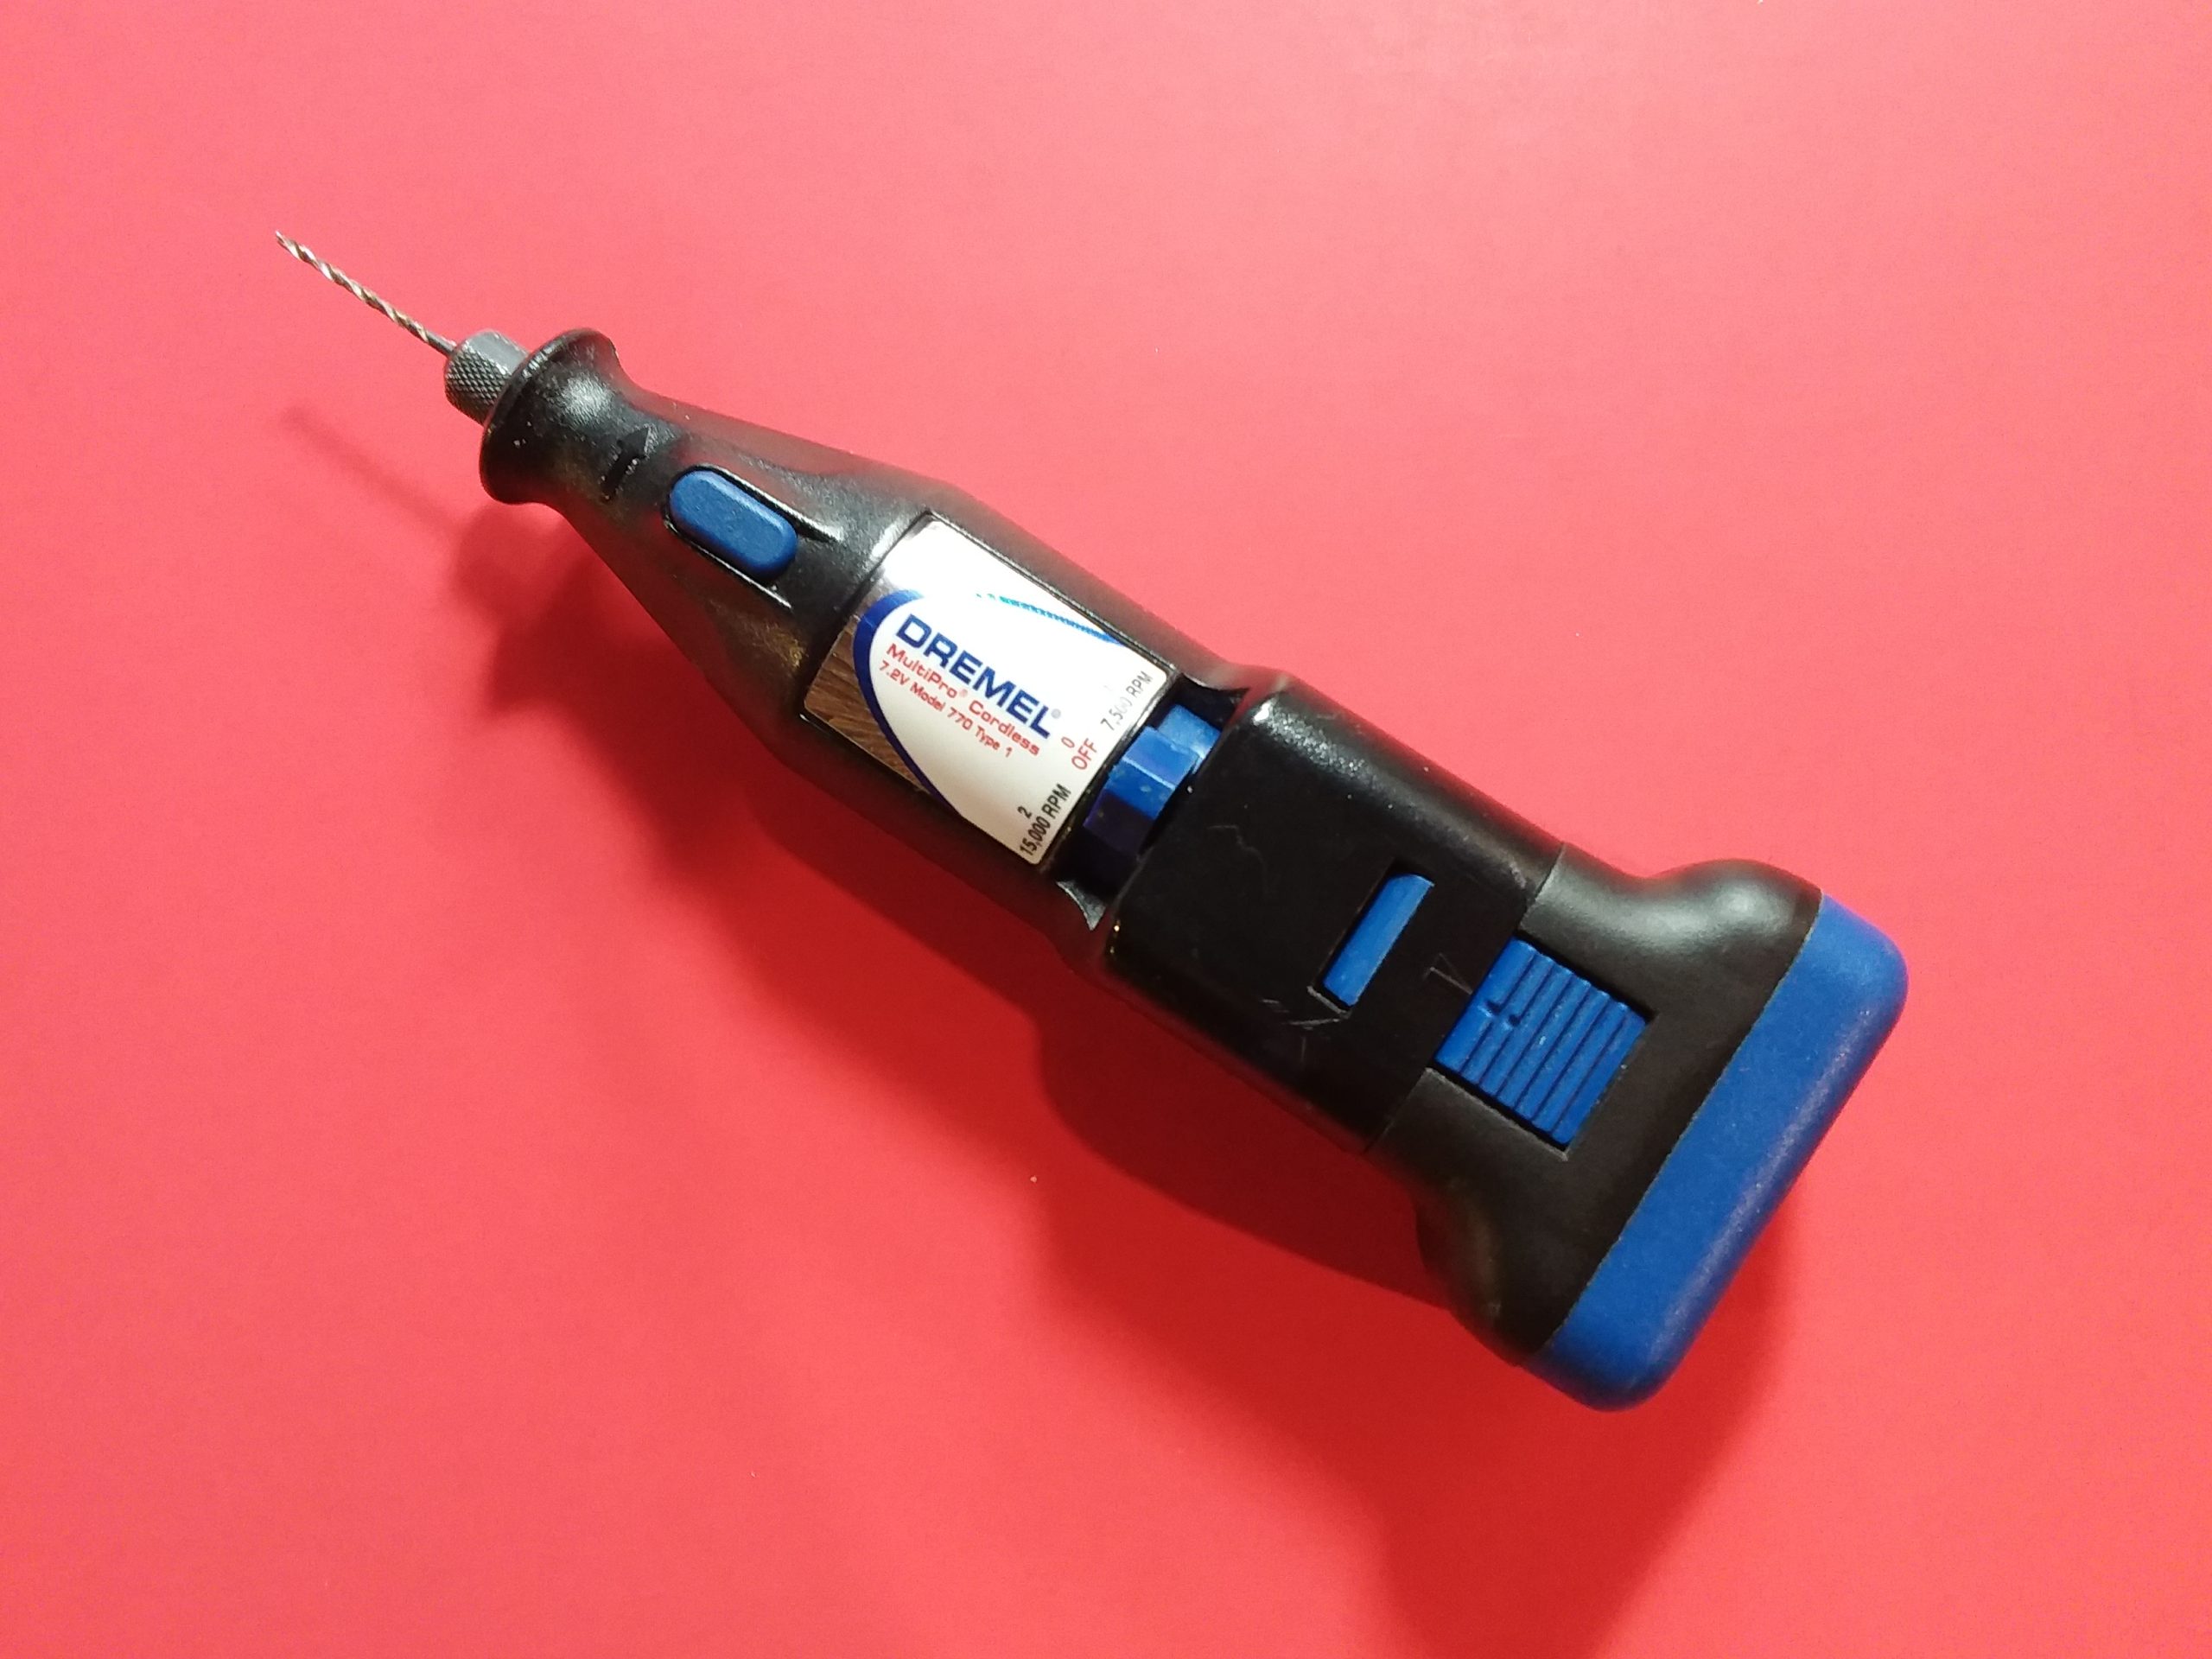
Small Power Tools
The Dremel Motor – This tool is a miniature power drill that supports an extensive line of miniature bits, polishing wheels, saw blades, grinders, etc. It is an excellent and indispensable tool.
There are miniature cordless drills capable of spinning between 7,500rpm and 15,000rpm.
For example, the miniature drill can be used to sand the edges of the wings, joints, and sections of the model where the spruces were removed.
This tool is handy for performing major modifications on models; for example, it can give a wing a more pronounced curve.
CAUTION: Do not drive your miniature power drill at high speeds because it will generate more heat to melt the plastic you are working on.
CAUTION: Do not let small children operate this tool without adult supervision.
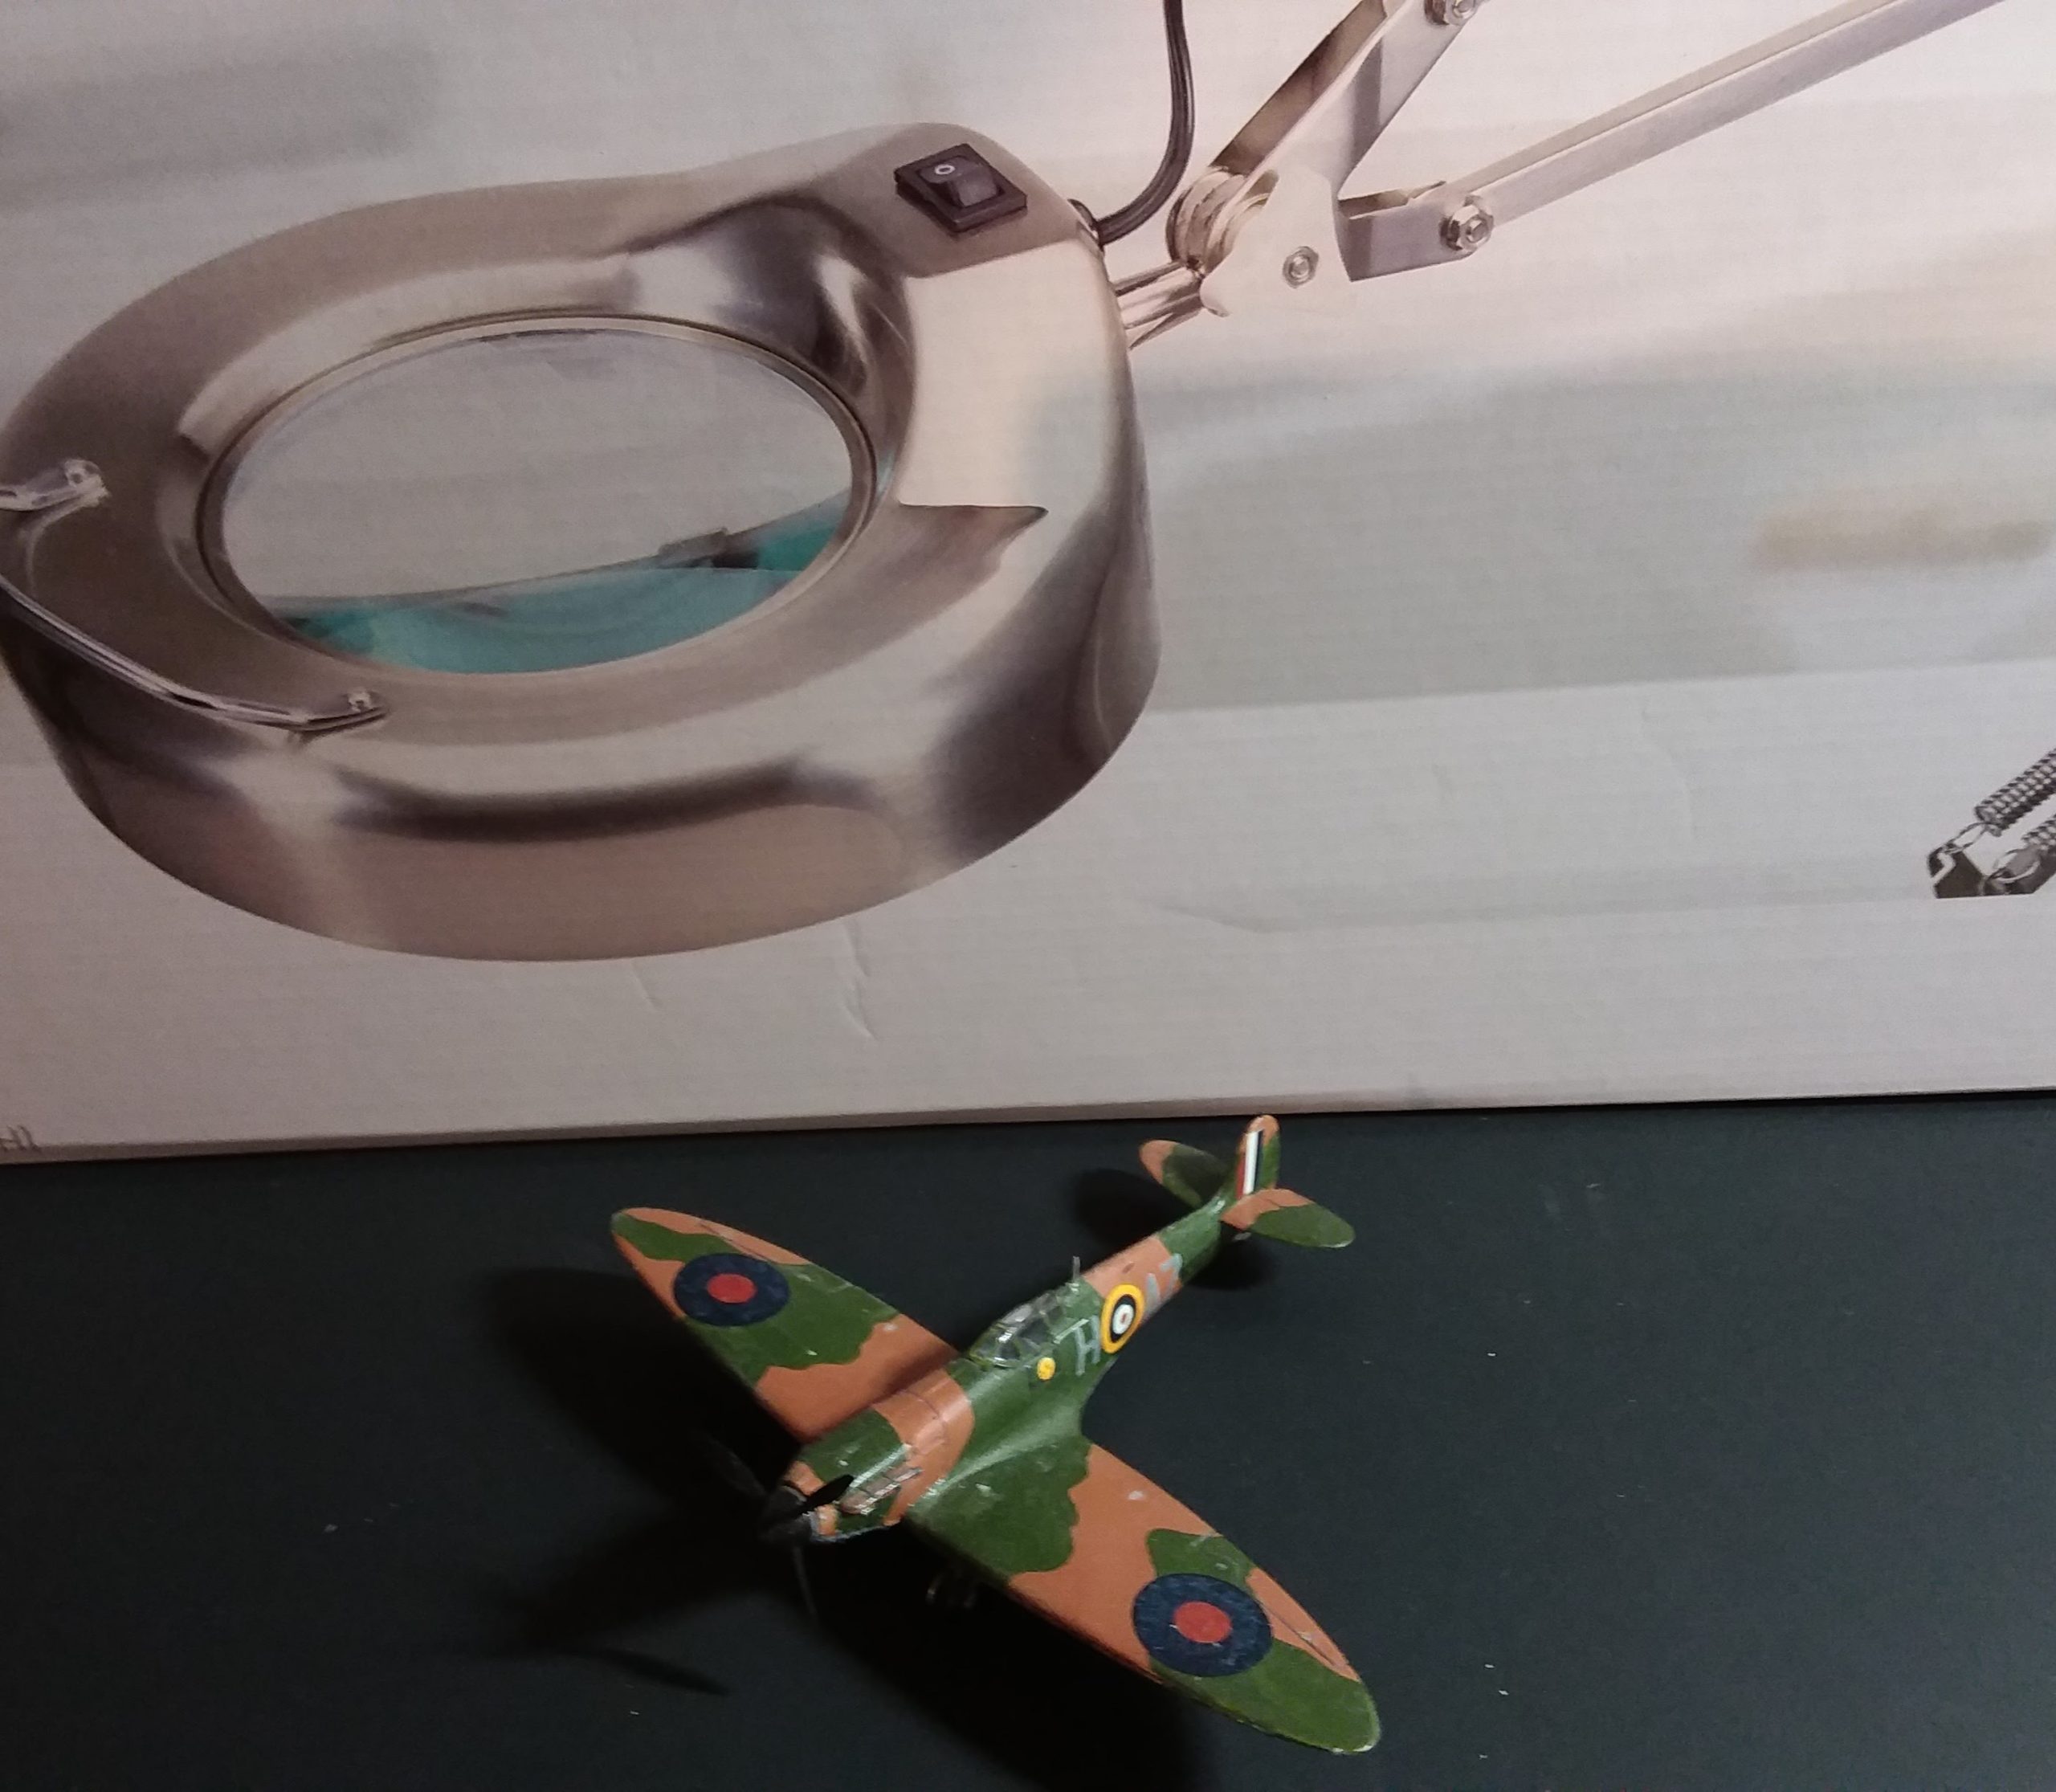
Tools Examples: