Mods
Sometimes, you don’t want your model to look like the one on the box. Maybe you want your model to have insignias from a different country, or perhaps you want it to be a different series of the same model…
…or how about adding a little electric motor to move the propeller or add realism to your diorama?
Making Your Model Accurate
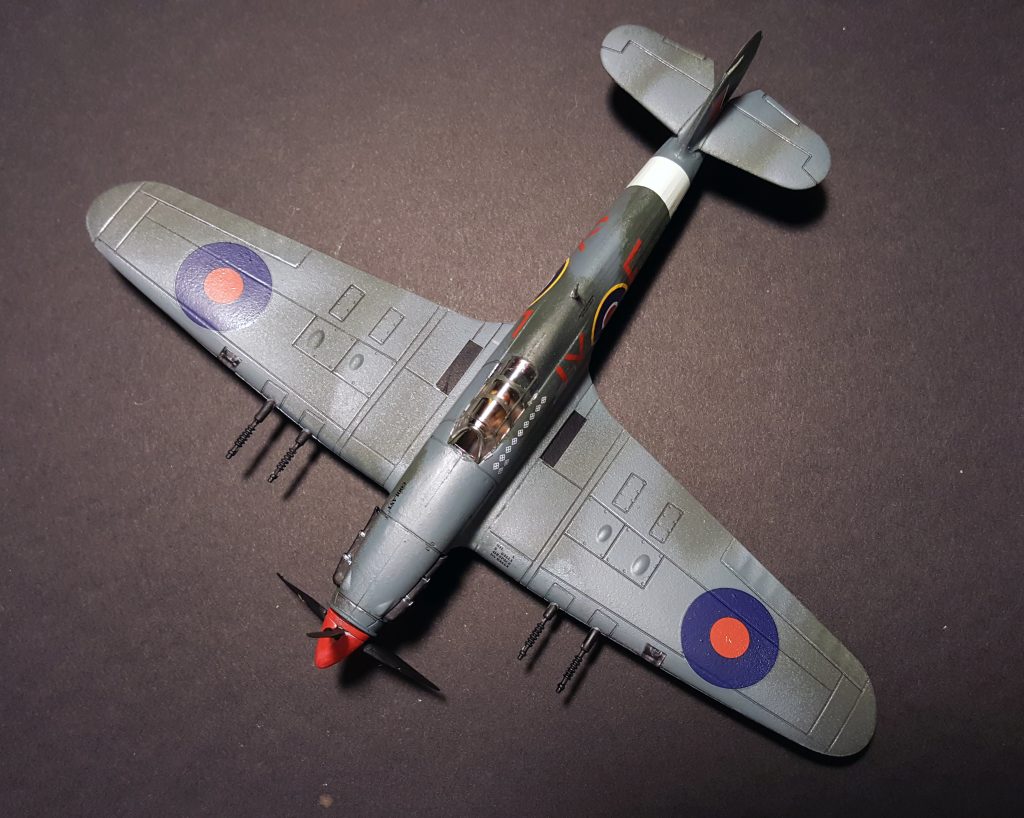
One of the main objectives of a serious scale aircraft modeler must be to make the model look as accurate as possible. Direct your effort to show as much detail as possible, basing your work on reference materials like photographs or diagrams.
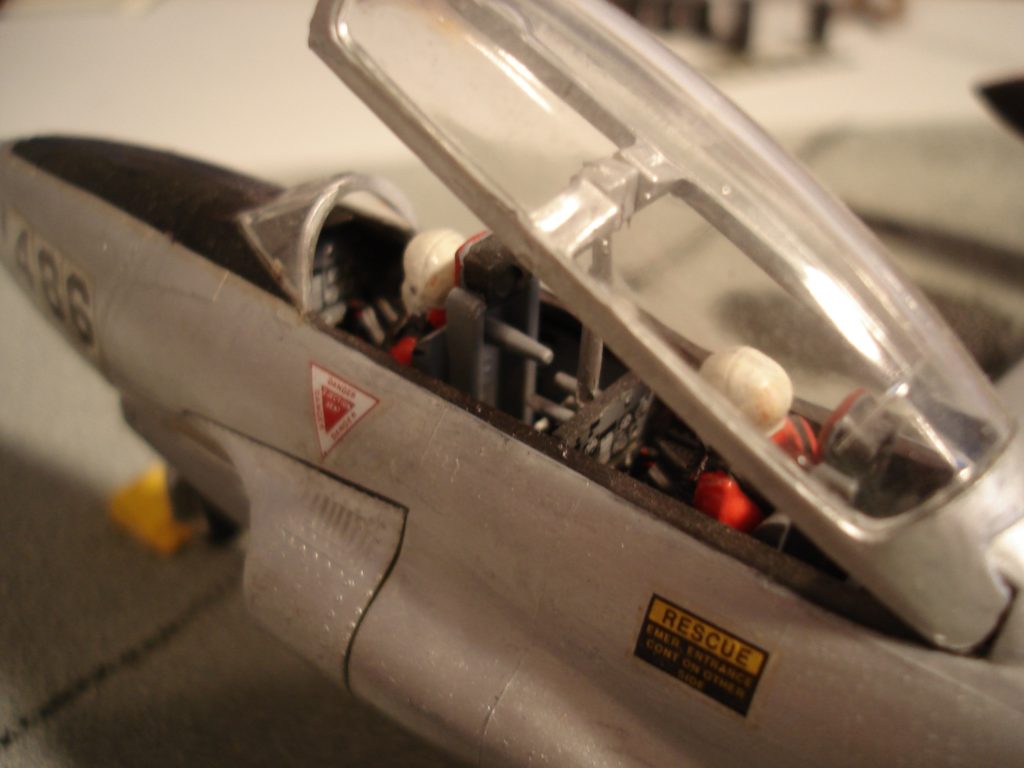
- If the instrument panel is visible and the scale of the model allows it, paint the dials and switches. You can accomplish this using a skinny brush and a magnifying glass to help you see the panel detail.
- Add colors to the cockpit’s inside, the seat frame (s), seat belts, light controls, etc.
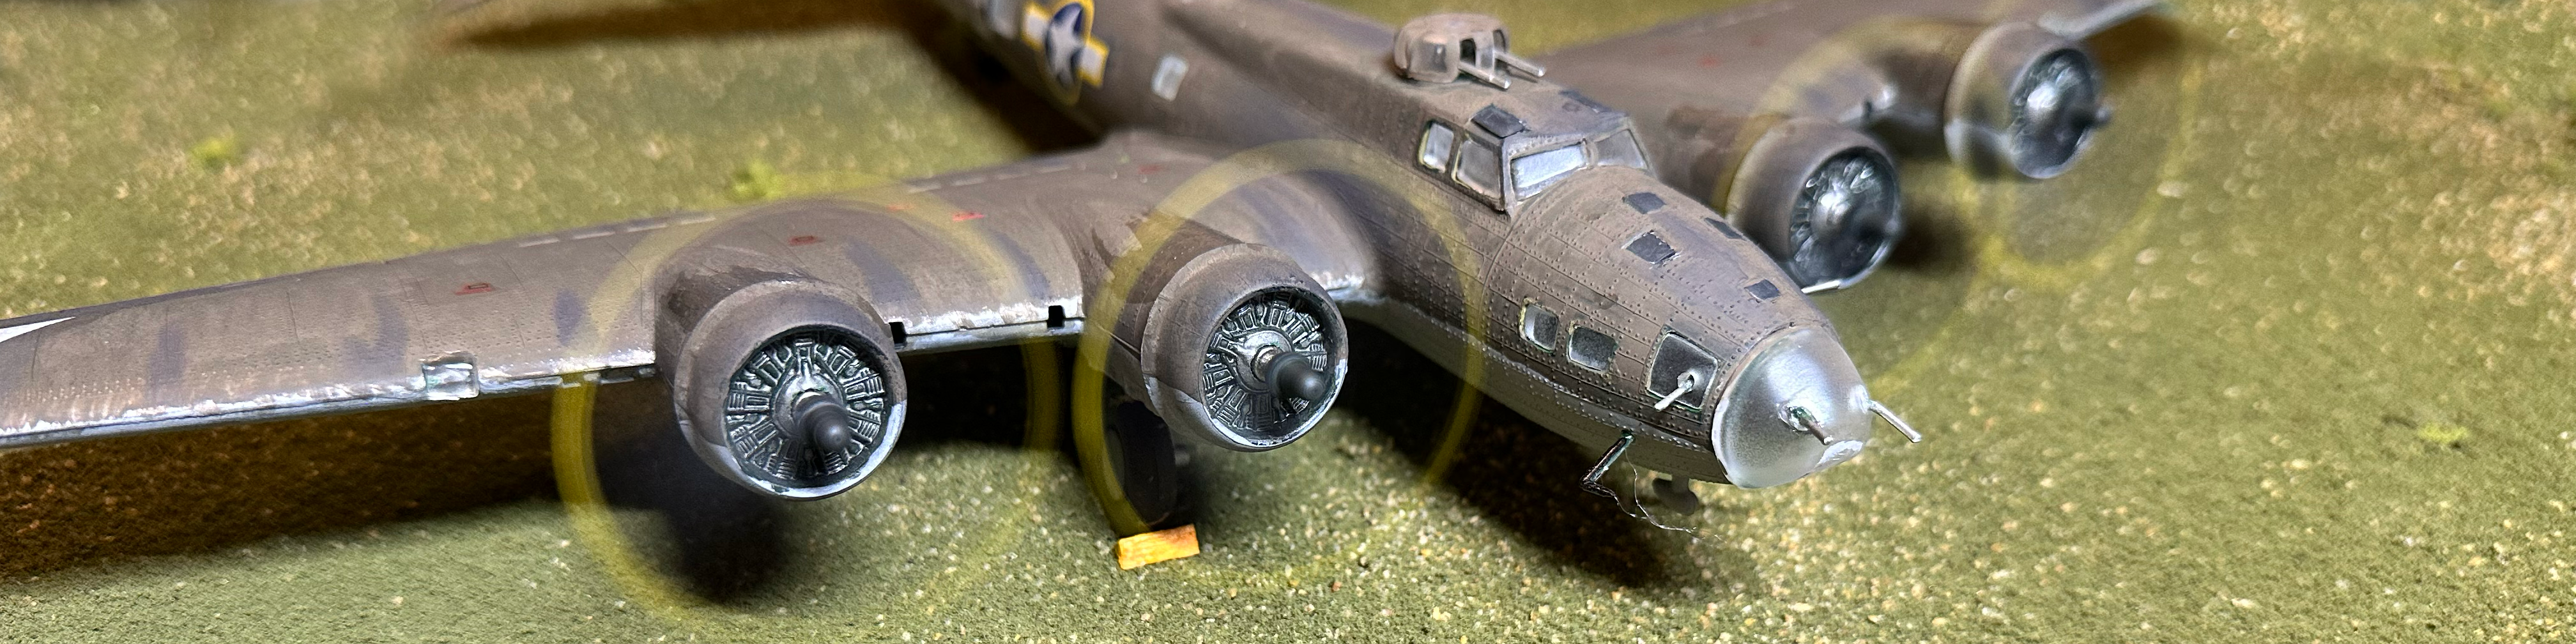
- Make the engine look real; use different metal paint shades.
- If the airplane has propellers, add some paint chips to the leading edge of the propeller fins.
Some Important Considerations
- The bigger the scale the more detail you need to add to your model. A 1/48 scale model will have more detail than a 1/72.
- Moving parts such as flaps, ailerons, canopies, propellers, and landing gears should sit on the model as they do in real life.
- The appearance or “texture” of the model should look real. Does the metal finish of your model look like the full-scale model?
- Will the model look new, or will it show wear and weather effects?
How Real Can We Make a Model Look?
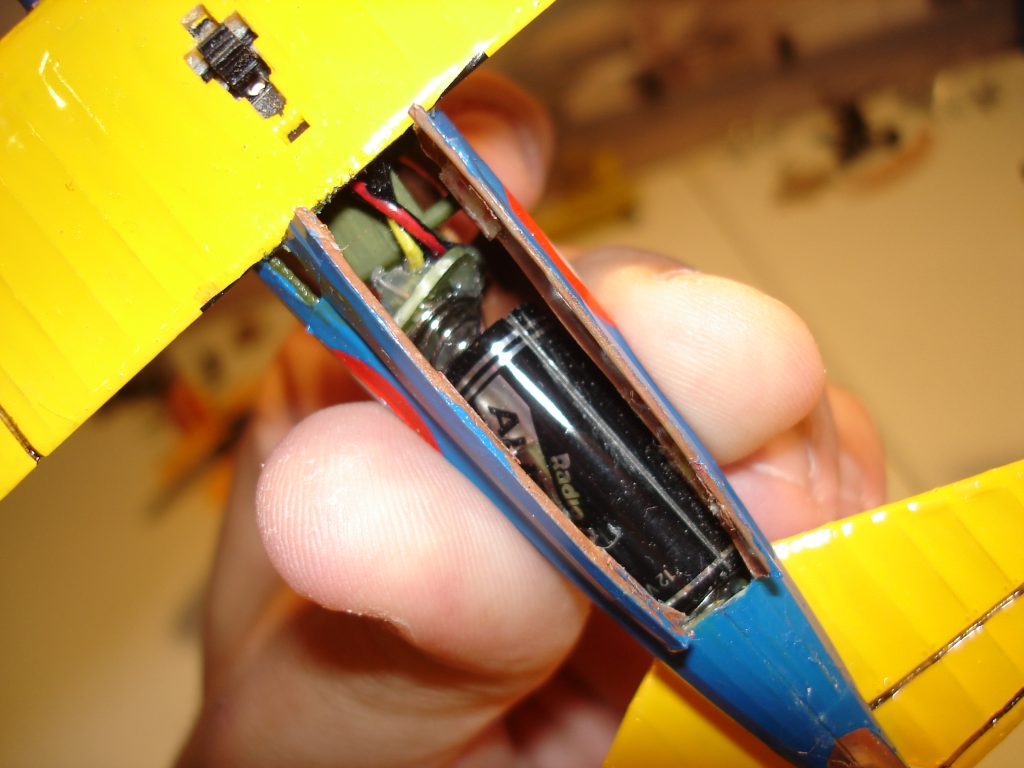
I like to make my models look as accurate as possible. To give my models a “real look”, I install electric motors in propeller airplanes. I have to internally modify the model to make room for the motors and wires.
I carve the interior by using a Dremel motor tool and an X-Acto knife, making room for the motor(s). I use a glue gun to fix the motors inside the fuselage. Be careful not to overheat the plastic because it may deform. Apply the glue in small quantities at a time.
I build a Control Box where I install switches and a variable resistor to control the engine(s). I install battery holders or connect an external AC/DC adaptor to power the engines.
Look at the following diagrams to get an idea of how to make the wiring for the motors and the parts you will need for this modification:
View a Circuit for a four-engine airplane
Some of my models include LEDs or miniature bulbs and smoke generators to add even more realism.
Major Modifications and Conversions
A modification or conversion makes the model appear different from what it is intended to.
It can be a different paint scheme, a different subtype of the same airplane, or a conversion of a single-seat to a double-seat airplane.
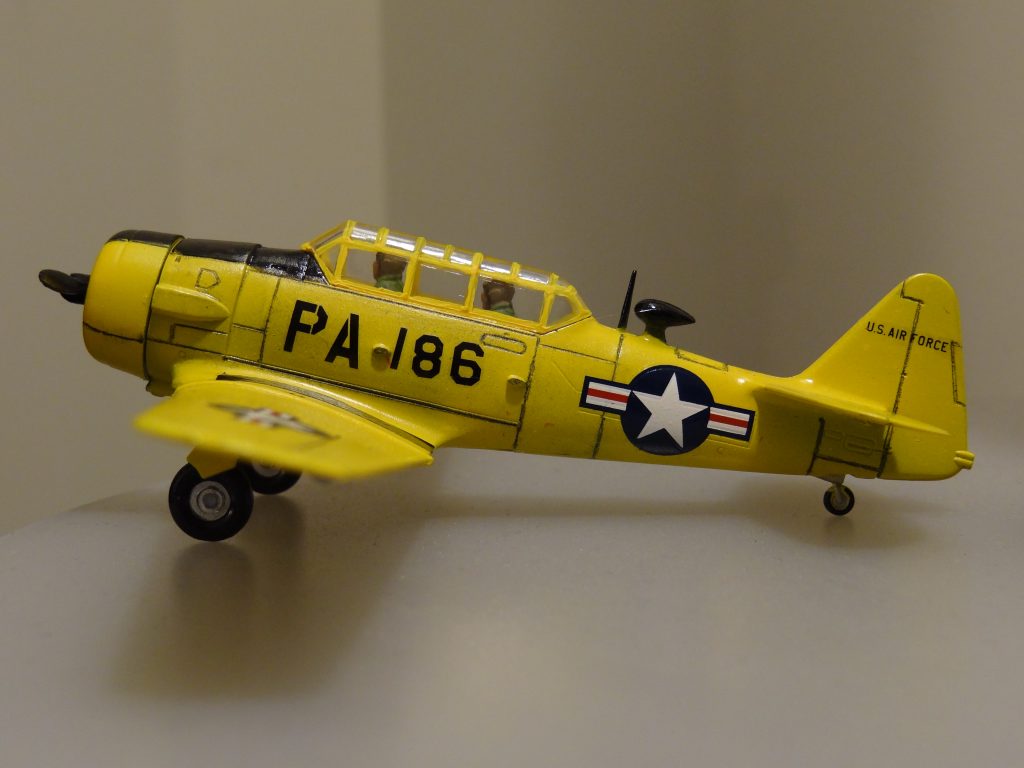
Example #1: NA-50 of the Peruvian Air Force
Pictured on the right is an example of a significant modification. The kit was originally an AT-6 Texan, and it was modified to depict an NA-50 of the Peruvian Air Force.
Click here to view the model project.
Example #2: AT-6 of the Peruvian Air Force
Click here to view the pictures of the 1:72 scale model of the AT-6 of the Peruvian Air Force and the reference diagrams and photographs used to build this model.
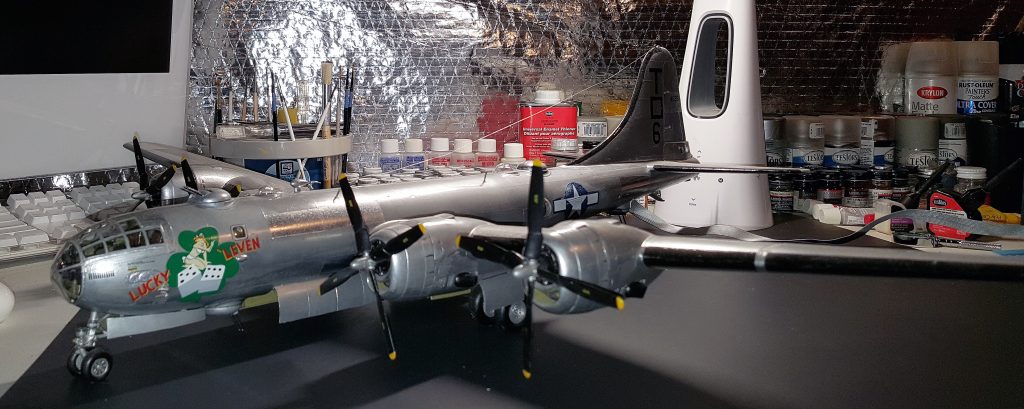
Example #3: Boeing B-29 Superfortress of the US Air Force
This 1:48 scale model of the B-29 was heavily modified. I added four electric motors, LED (Light Emitting Diodes) to simulate the taxing lights located on the wingtips, a flashing light situated on top of the tail, a light located on the front landing gear, a light under the belly of the plane, and a couple of internal lights that illuminate the cockpit and the rear section of the aircraft. An external switch box attached to the aircraft controls the lights and motors.